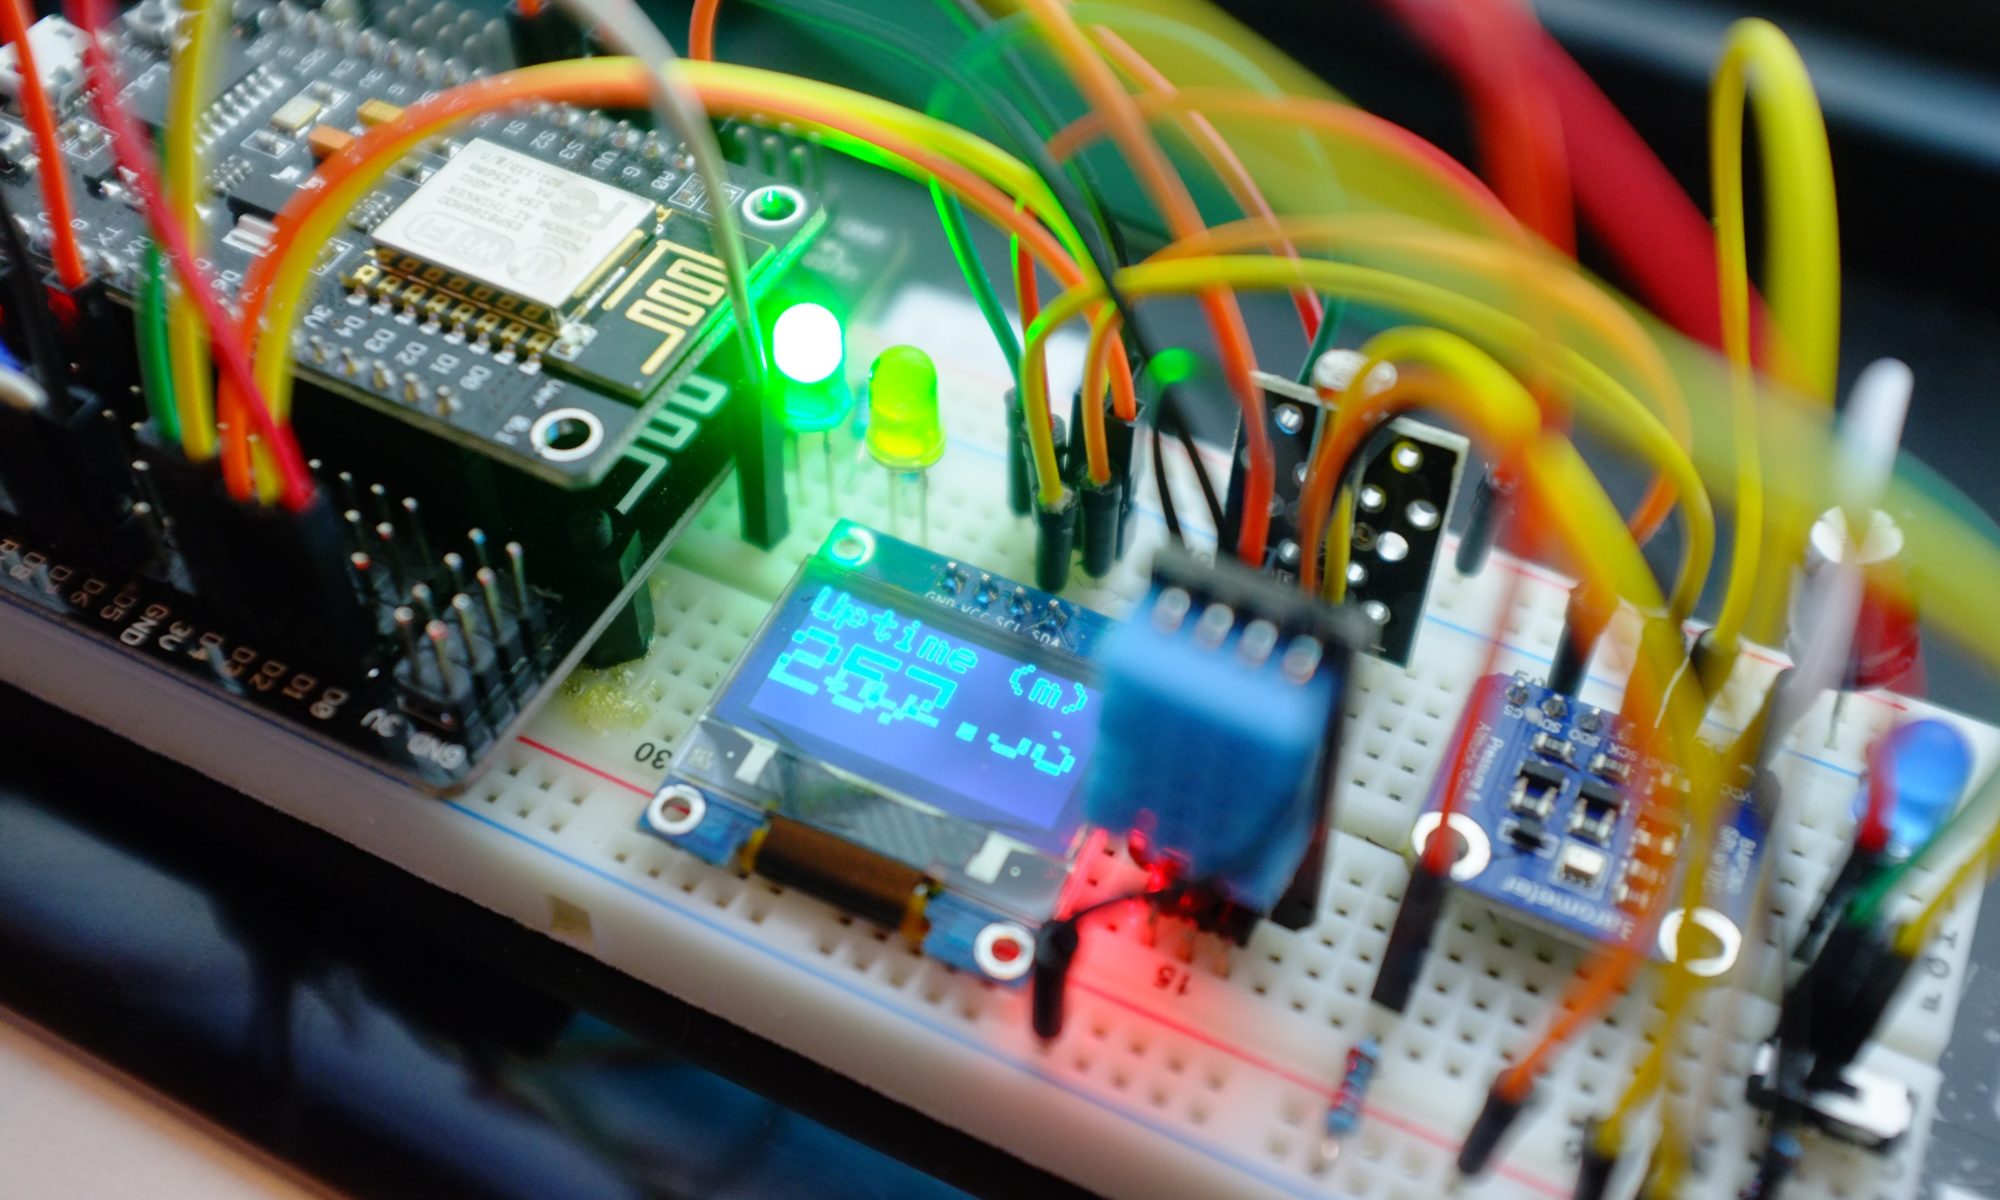
Securely sending IoT data to the cloud is an important consideration, especially if you can receive messages from the cloud and then activate equipment. It might be annoying if my house lights are turned on or off by someone else, but if my garage or front door can be opened by a malicious person, that’s much more serious.
AWS IoT Core is a secure platform for sending IoT device data, but this in turn presents challenges for developers using some of the popular micro-controllers like the ESP8266 which has very little RAM and a relatively slow processor. AWS IoT Core uses X.509 client certificates to identify devices and you’ll need to be able to negotiate a TLS 1.2 connection – which can be quite a challenge for a constrained device. Prior to the end of 2017 this was a real issue for the ESP8266 but thanks to work on the SSL libraries, it is now possible to easily make a secure connection – with one caveat.
While the ESP8266 can now make a TLS 1.2 negotiated connection to AWS IoT Core and identify itself using an X.509 client certificate, for a secure connection the client also needs to verify that the server really is who it claims to be. This is done by verifying the certificate authority that signed the server certificate and currently, this is beyond the memory capabilities of the ESP8266.
So caveat aside, what does the code look like for making a secure connection to AWS IoT Core over MQTT?
There are a few ways of handling the certificate encoding, and there is a nice example of how to do this over on github written by one of the contributors to the ESP8266 Arduino project.
While the risk of a compromise here is low, you should be cautious about any data you send or receive without verifying the identity of the server. Sending temperature readings or receiving commands to turn on some small projects is low risk, but I wouldn’t be sending my credit card details over MQTT from the ESP8266 for example (although this would be a stupid thing to do in any event). Remember this is not a security issue with AWS IoT Core, it’s with the Arduino library running on the ESP8266 which currently doesn’t have the capability of verifying the certificate chain. This may change in the future.
The good news is, there is an easy solution, upgrade your projects to the more recent and more powerful ESP32 – the big brother of the ESP8266 from the same manufacturer.
The code for the ESP32 is similar but simpler;
Copy and paste the certificate and key files you get when you create your device Thing in AWS IoT Core and tweak the formatting so you can use them like this;
const char*  certificatePemCrt = \
"-----BEGIN CERTIFICATE-----\n" \
"MIIDWjDCAkKgAwIBAlIVAO4oCOcEtp6ex+nzUkv1+Nd4ZcgEMA0GCFqGSIL3DQ3B" \
"---------------- redacted for clarity and privacy --------------" \
"AcVdn0SlXDZ2eqEIXs79tsOuw7awrkWvMRyZ8A4lQlin53dA77jXEzwbAOp6dp==" \
"-----END CERTIFICATE-----\n";

const char*  privatePemKey = \
"-----BEGIN RSA PRIVATE KEY-----\n" \
"MIIZpAIBFFKCAQEArKDwRPmAnkF0lomDj6i8I8qDRyTuJOLmCbn8CtPl12QlT7Yc" \
"---------------- redacted for clarity and privacy --------------" \
"Neawrz1V983PPKSrXeim6f6/gZq92ut5mCZZFwkN+muQtlLDixpFjL==" \
"-----END RSA PRIVATE KEY-----\n";

const String AmazonCACert = \
"MIIE0zCCA7ugAwIBAgIQGNrRniZ96LtKIVjNzGs7SjANBgkqhkiG9w0BAQUFADCB" \
"yjELMAkGA1UEBhMCVVMxFzAVBgNVBAoTDlZlcmlTaWduLCBJbmMuMR8wHQYDVQQL" \
"ExZWZXJpU2lnbiBUcnVzdCBOZXR3b3JrMTowOAYDVQQLEzEoYykgMjAwNiBWZXJp" \
"U2lnbiwgSW5jLiAtIEZvciBhdXRob3JpemVkIHVzZSBvbmx5MUUwQwYDVQQDEzxW" \
"ZXJpU2lnbiBDbGFzcyAzIFB1YmxpYyBQcmltYXJ5IENlcnRpZmljYXRpb24gQXV0" \
"aG9yaXR5IC0gRzUwHhcNMDYxMTA4MDAwMDAwWhcNMzYwNzE2MjM1OTU5WjCByjEL" \
"MAkGA1UEBhMCVVMxFzAVBgNVBAoTDlZlcmlTaWduLCBJbmMuMR8wHQYDVQQLExZW" \
"ZXJpU2lnbiBUcnVzdCBOZXR3b3JrMTowOAYDVQQLEzEoYykgMjAwNiBWZXJpU2ln" \
"biwgSW5jLiAtIEZvciBhdXRob3JpemVkIHVzZSBvbmx5MUUwQwYDVQQDEzxWZXJp" \
"U2lnbiBDbGFzcyAzIFB1YmxpYyBQcmltYXJ5IENlcnRpZmljYXRpb24gQXV0aG9y" \
"aXR5IC0gRzUwggEiMA0GCSqGSIb3DQEBAQUAA4IBDwAwggEKAoIBAQCvJAgIKXo1" \
"nmAMqudLO07cfLw8RRy7K+D+KQL5VwijZIUVJ/XxrcgxiV0i6CqqpkKzj/i5Vbex" \
"t0uz/o9+B1fs70PbZmIVYc9gDaTY3vjgw2IIPVQT60nKWVSFJuUrjxuf6/WhkcIz" \
"SdhDY2pSS9KP6HBRTdGJaXvHcPaz3BJ023tdS1bTlr8Vd6Gw9KIl8q8ckmcY5fQG" \
"BO+QueQA5N06tRn/Arr0PO7gi+s3i+z016zy9vA9r911kTMZHRxAy3QkGSGT2RT+" \
"rCpSx4/VBEnkjWNHiDxpg8v+R70rfk/Fla4OndTRQ8Bnc+MUCH7lP59zuDMKz10/" \
"NIeWiu5T6CUVAgMBAAGjgbIwga8wDwYDVR0TAQH/BAUwAwEB/zAOBgNVHQ8BAf8E" \
"BAMCAQYwbQYIKwYBBQUHAQwEYTBfoV2gWzBZMFcwVRYJaW1hZ2UvZ2lmMCEwHzAH" \
"BgUrDgMCGgQUj+XTGoasjY5rw8+AatRIGCx7GS4wJRYjaHR0cDovL2xvZ28udmVy" \
"aXNpZ24uY29tL3ZzbG9nby5naWYwHQYDVR0OBBYEFH/TZafC3ey78DAJ80M5+gKv" \
"MzEzMA0GCSqGSIb3DQEBBQUAA4IBAQCTJEowX2LP2BqYLz3q3JktvXf2pXkiOOzE" \
"p6B4Eq1iDkVwZMXnl2YtmAl+X6/WzChl8gGqCBpH3vn5fJJaCGkgDdk+bW48DW7Y" \
"5gaRQBi5+MHt39tBquCWIMnNZBU4gcmU7qKEKQsTb47bDN0lAtukixlE0kF6BWlK" \
"WE9gyn6CagsCqiUXObXbf+eEZSqVir2G3l6BFoMtEMze/aiCKm0oHw0LxOXnGiYZ" \
"4fQRbxC1lfznQgUy286dUV4otp6F01vvpX1FQHKOtw5rDgb7MzVIcbidJ4vEZV8N" \
"hnacRHr2lVz2XTIIM6RUthg/aFzyQkqFOFSDX9HoLPKsEdao7WNq";
And now you can configure your wiFiClient to use the certificate and verify the CA certificate with;
wiFiClient.setCertificate(certificatePemCrt);
wiFiClient.setPrivateKey(privatePemKey);
wiFiClient.setCACert(AmazonCACert);
You could use similar code to the github project linked earlier – this ESP32 example just shows another way of encoding the certificate in your Arduino sketch.
SECURITY CAUTION
Anyone who can get physical access to your device can access the private key if you don’t take additional steps to protect it – and you’d also be surprised how many people upload the code containing the private keys to github, you may not want to do that either! There are steps you can take to make your system more secure, such as storing the private key in a dedicated crypto store like the ATECC508A microchip or, if using the ESP32, consider using the flash encryption features to add further layers of protection. Another great option is to make sure you don’t reuse certificates and keys on multiple devices and ensure that you only grant the minimum necessary permissions so that even if your private key was compromised, you could revoke the certificate paired with the key and only one single device would be impacted.
For more information on the AWS IoT security model, this blog post has more detail.
