
Last time we looked at how to create your first channel to receive data from your connected IoT device. This week we’re going to take a closer look at the IoT Core Rule that was created for you last time and then go on to create the Pipeline that will connect this Channel to a Data store where all your data will be available for query.
First though, let’s remind ourselves which Channel we’re going to be working with today by visiting the Channels page in the IoT Analytics Console.
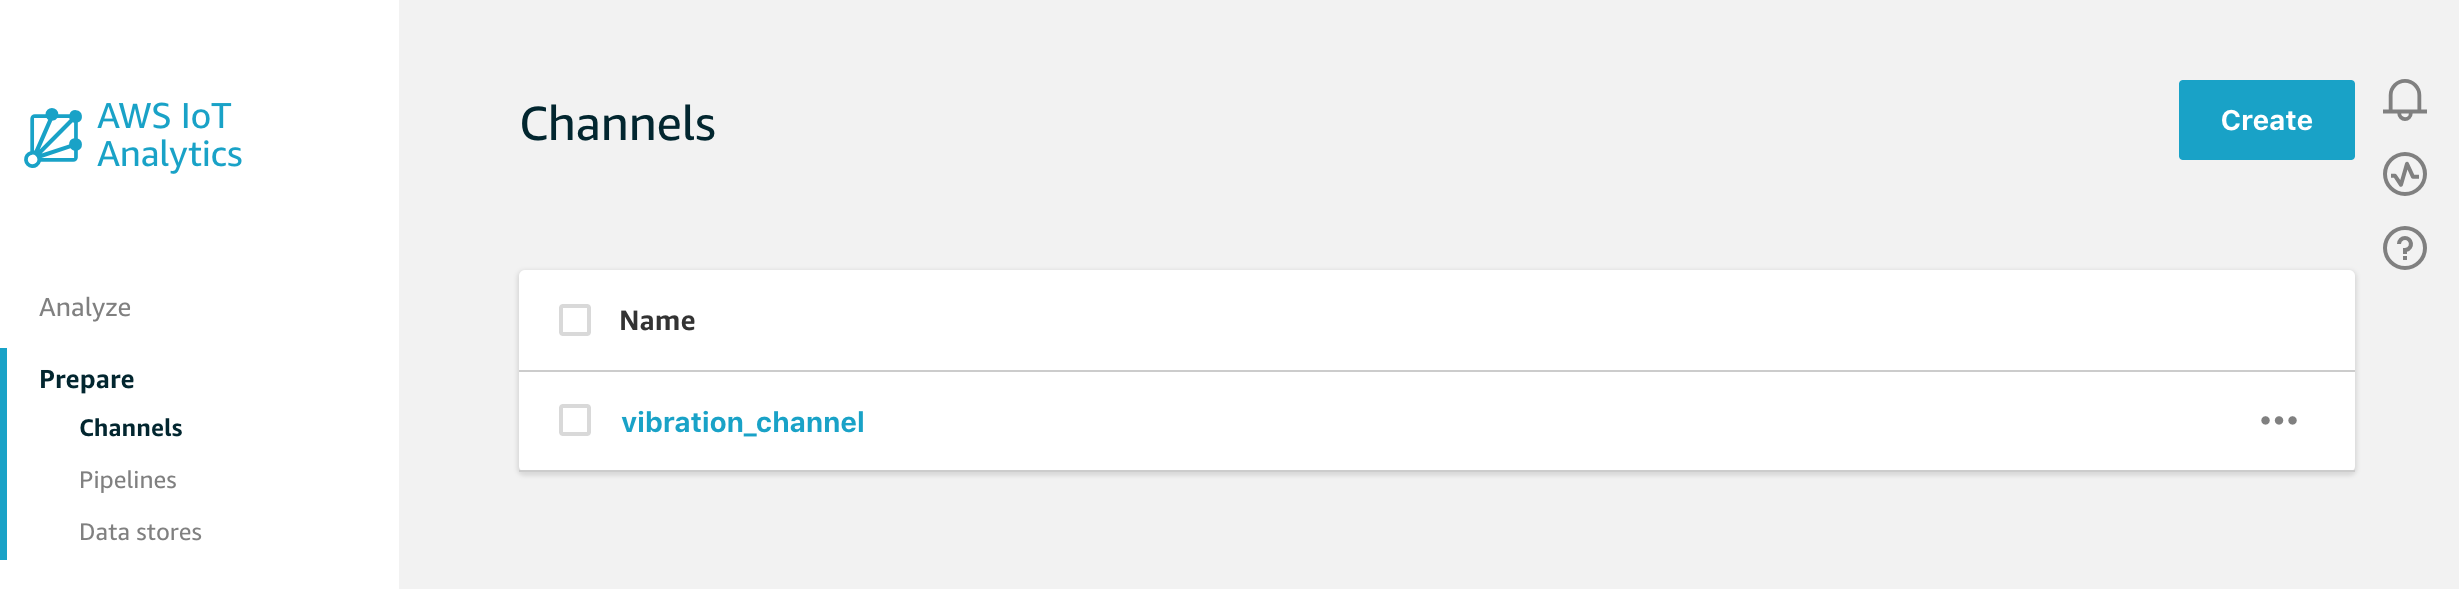
We’ll be using this vibration_channel to collect data from our vibration sensor project.
Last week I mentioned that using the topic filter in the Channel creation flow would automatically create a Rule for you in IoT Core, so let’s mosey on over to the IoT Core Console, select Act from the menu on the left and take a look at what rules we now have.

Cool – we have a rule called IoTAnalytics_vibration_channel. Note now any rules created automatically like this are prefixed by the IoTAnalytics keyword to make them easier to locate. Let’s click on that and take a look at the rule in some more detail.
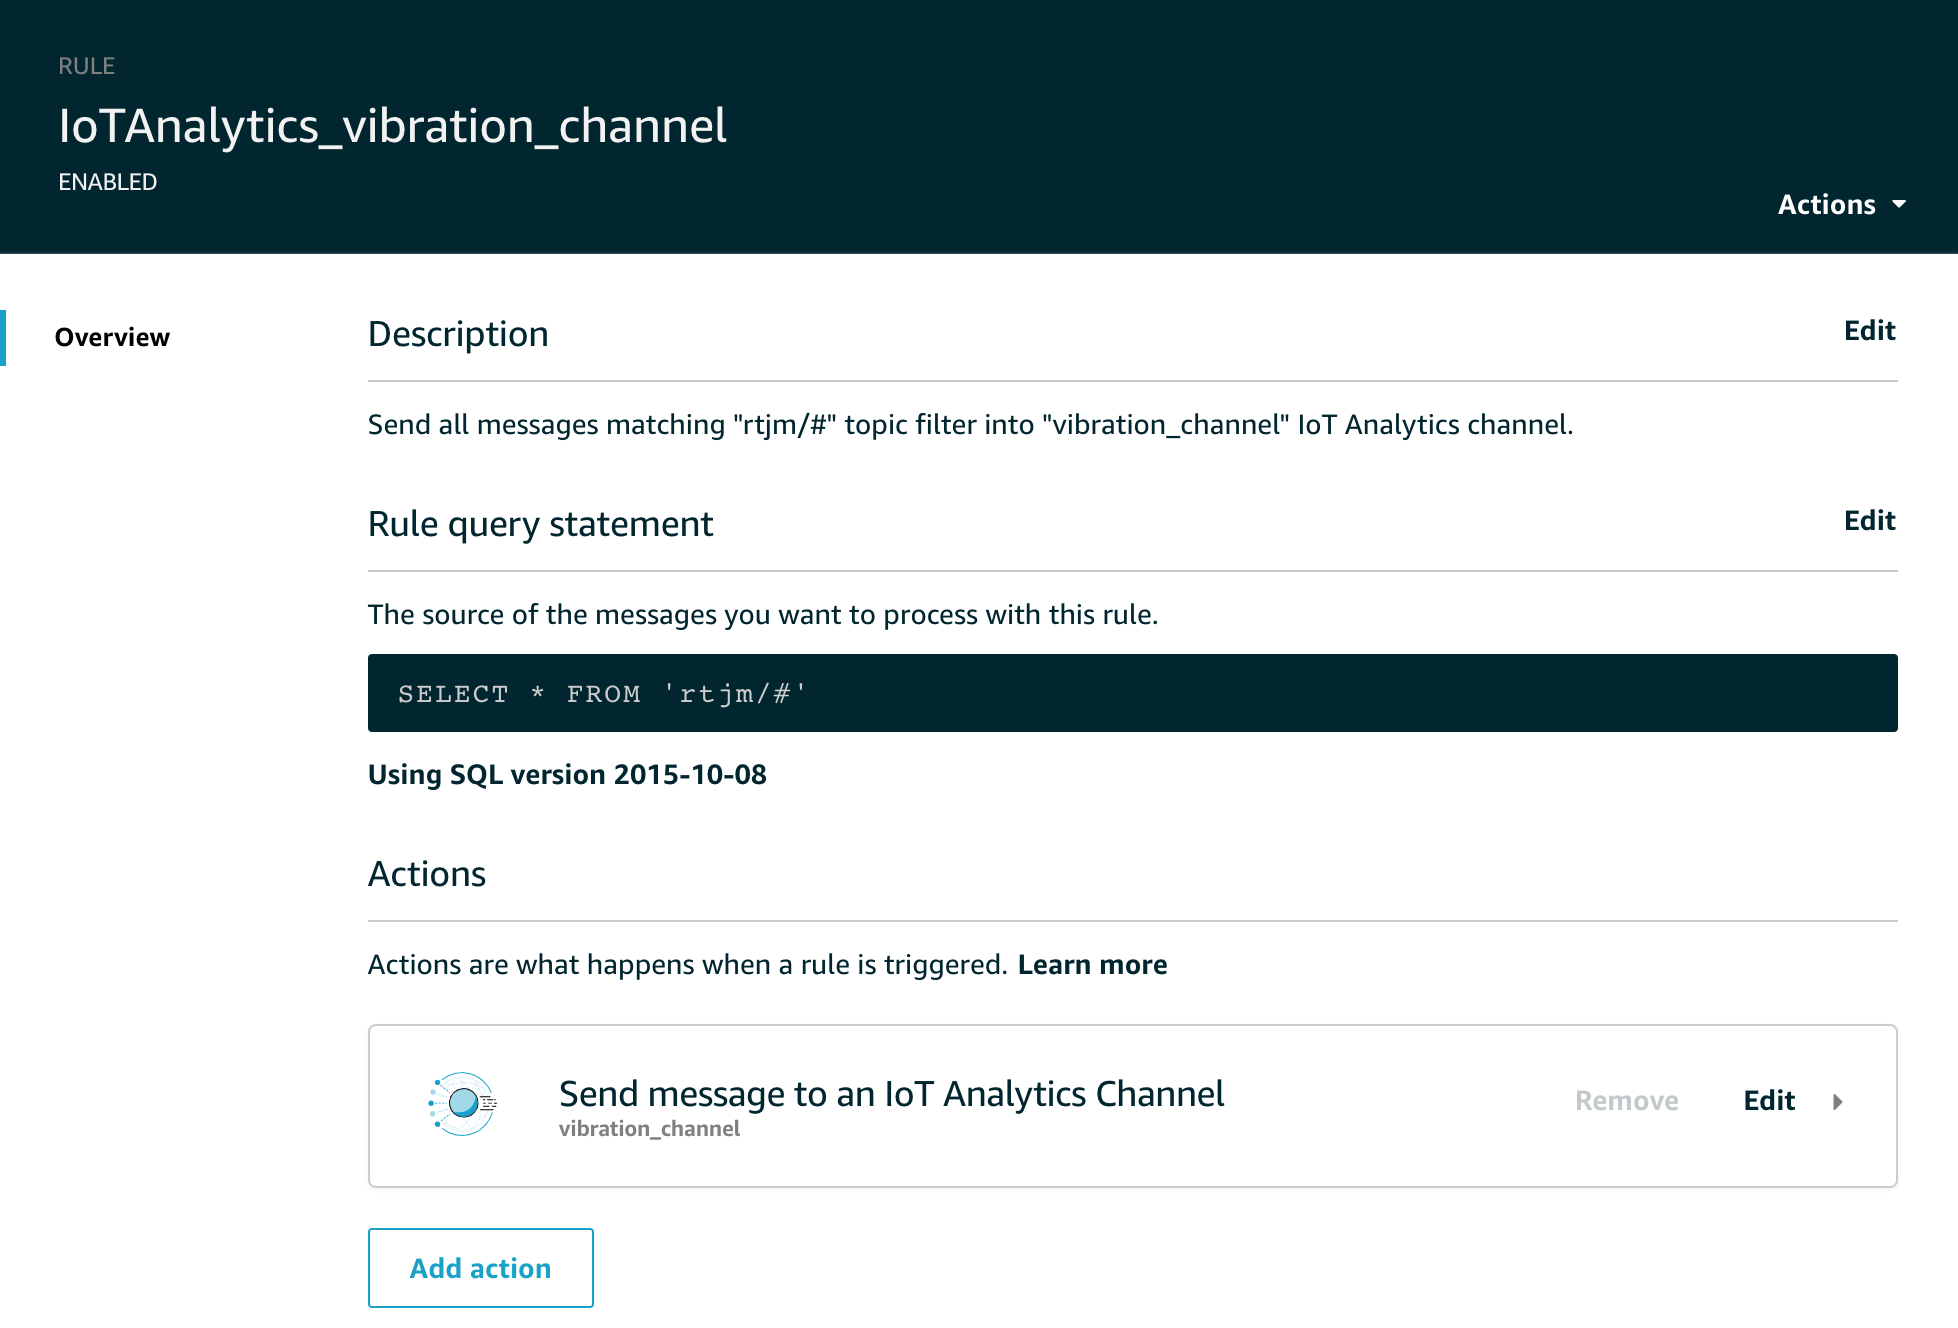
As you can see, for this rule we are taking all messages from the wildcard topic filter rtjm/# and sending them to the vibration_channel using the IoT Analytics Channel. We can use this screen to edit the topic filter, edit the action or add another action. This last point is worth remembering, you may want to send messages to multiple destinations and adding multiple actions in the Rule is one of the ways of doing this.
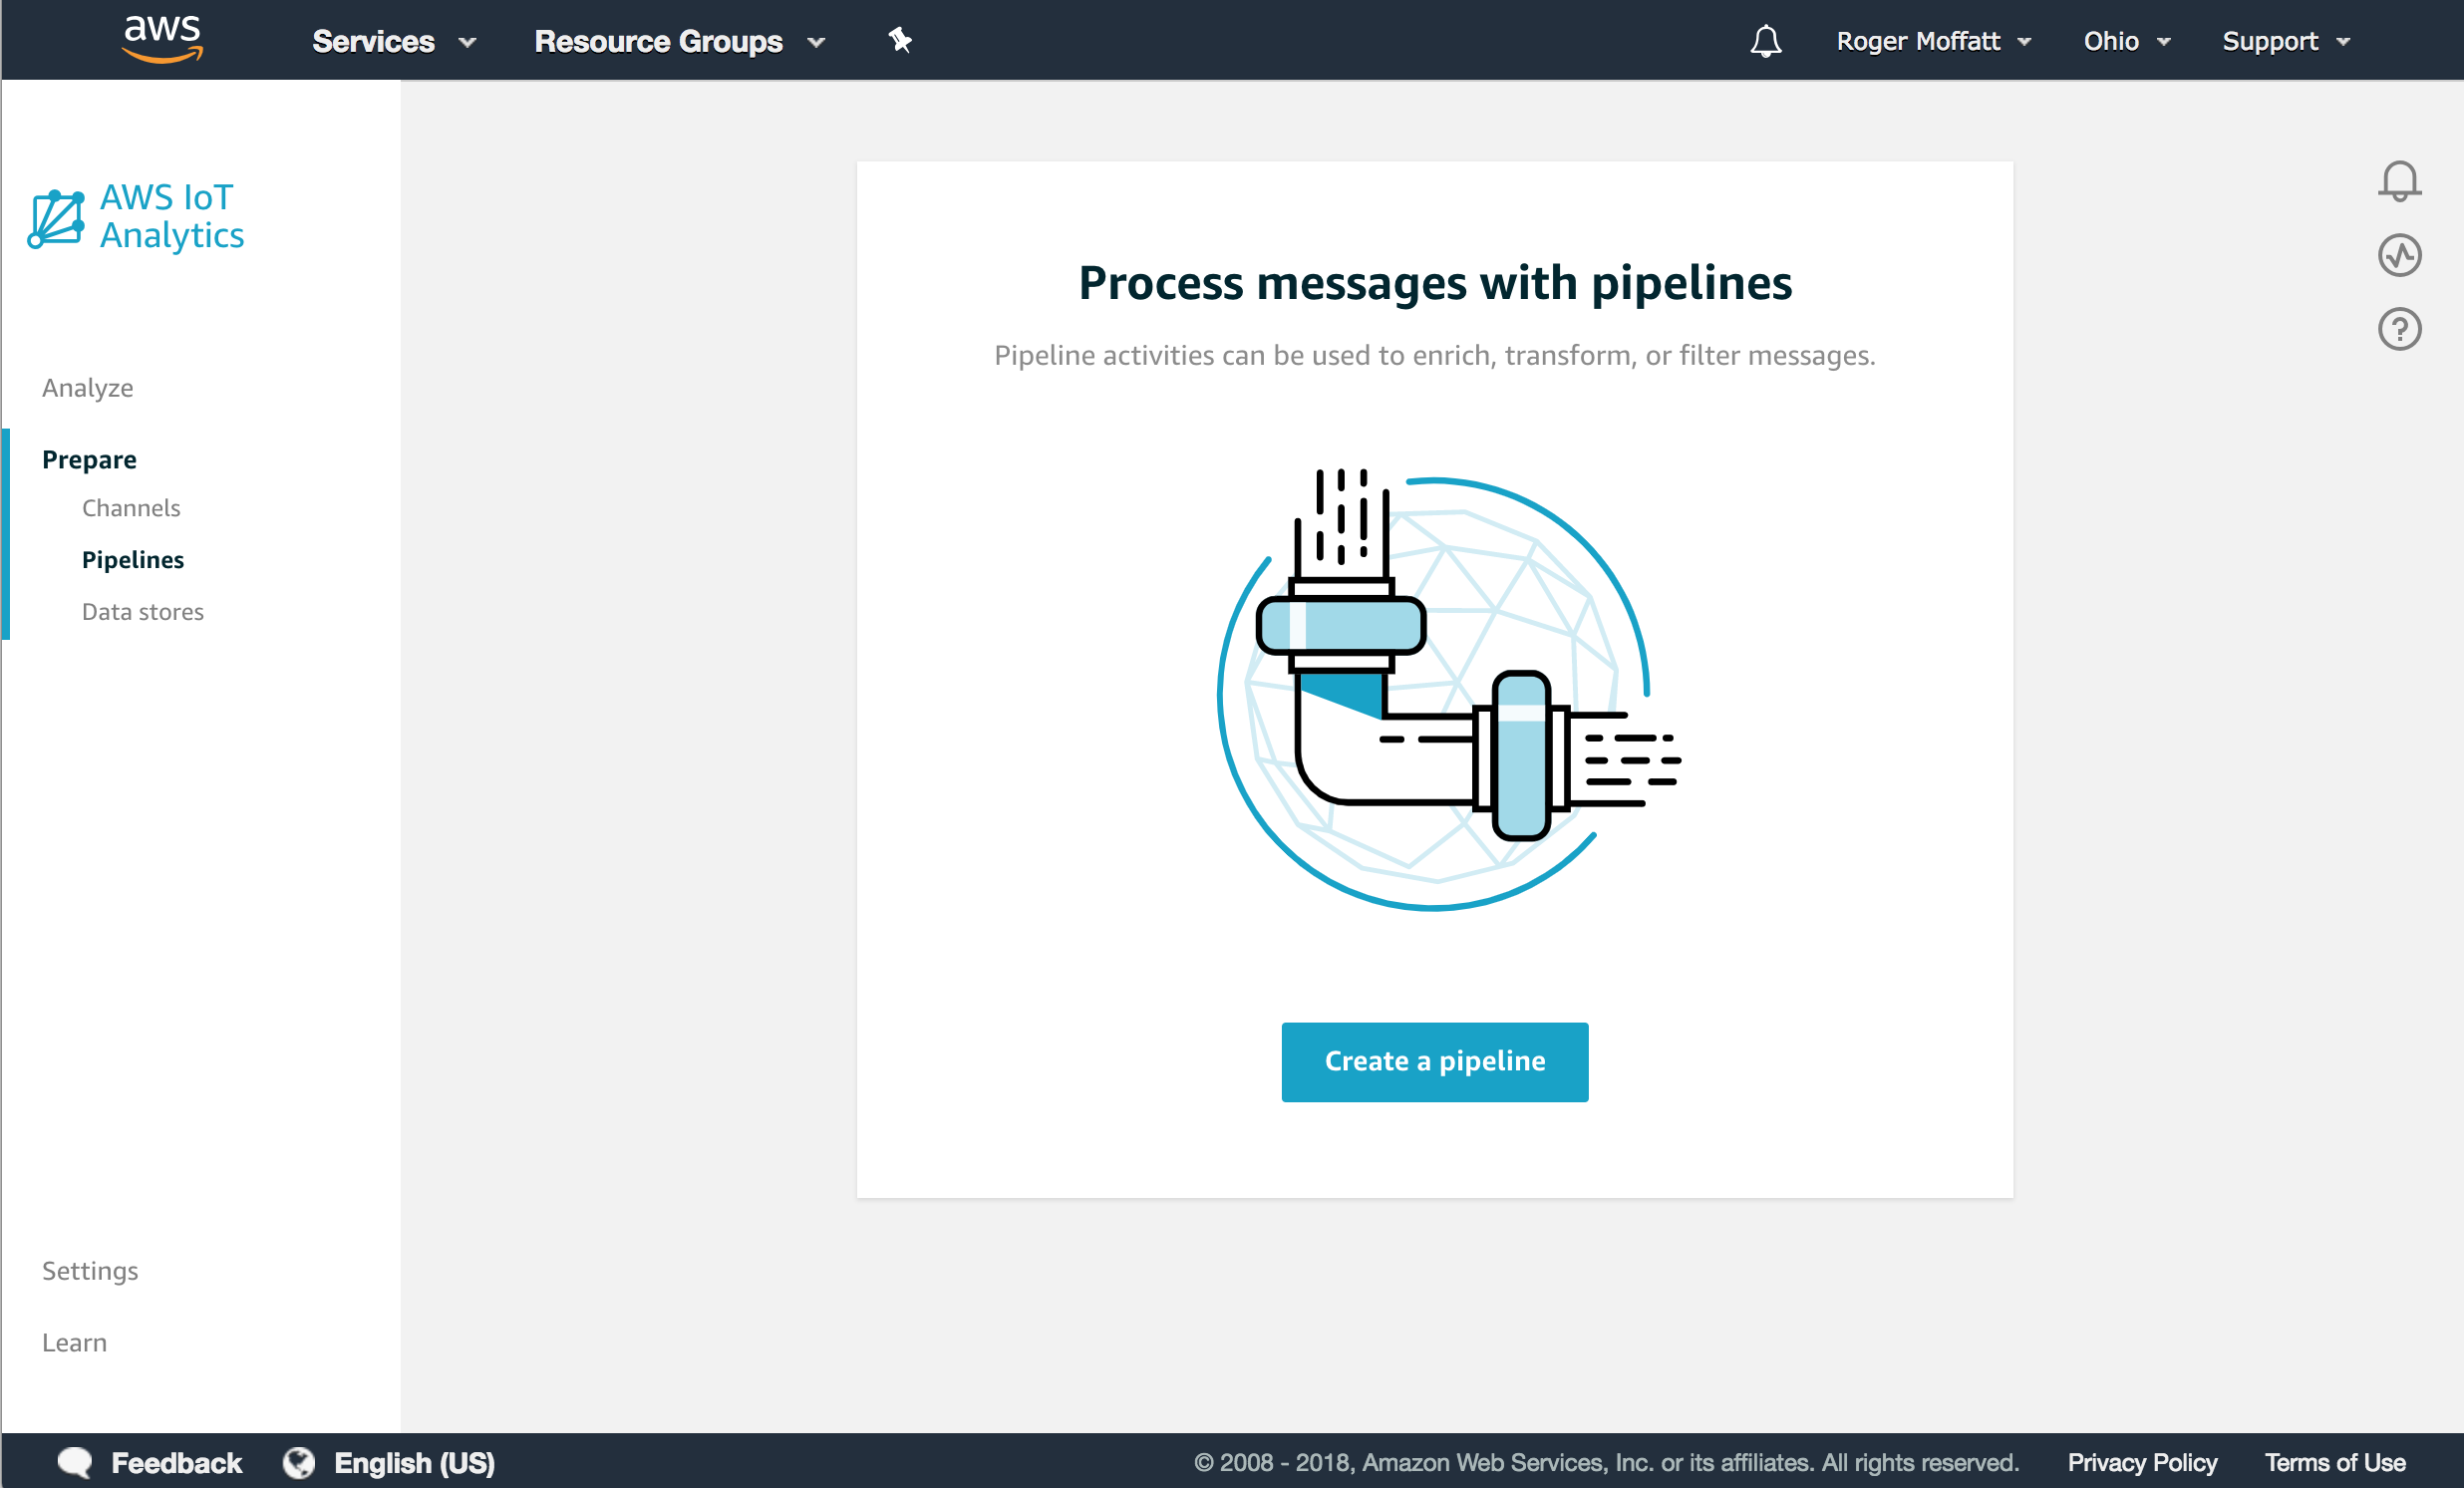
For now, let’s head back to the IoT Analytics Channel and create the Pipeline to join everything together.
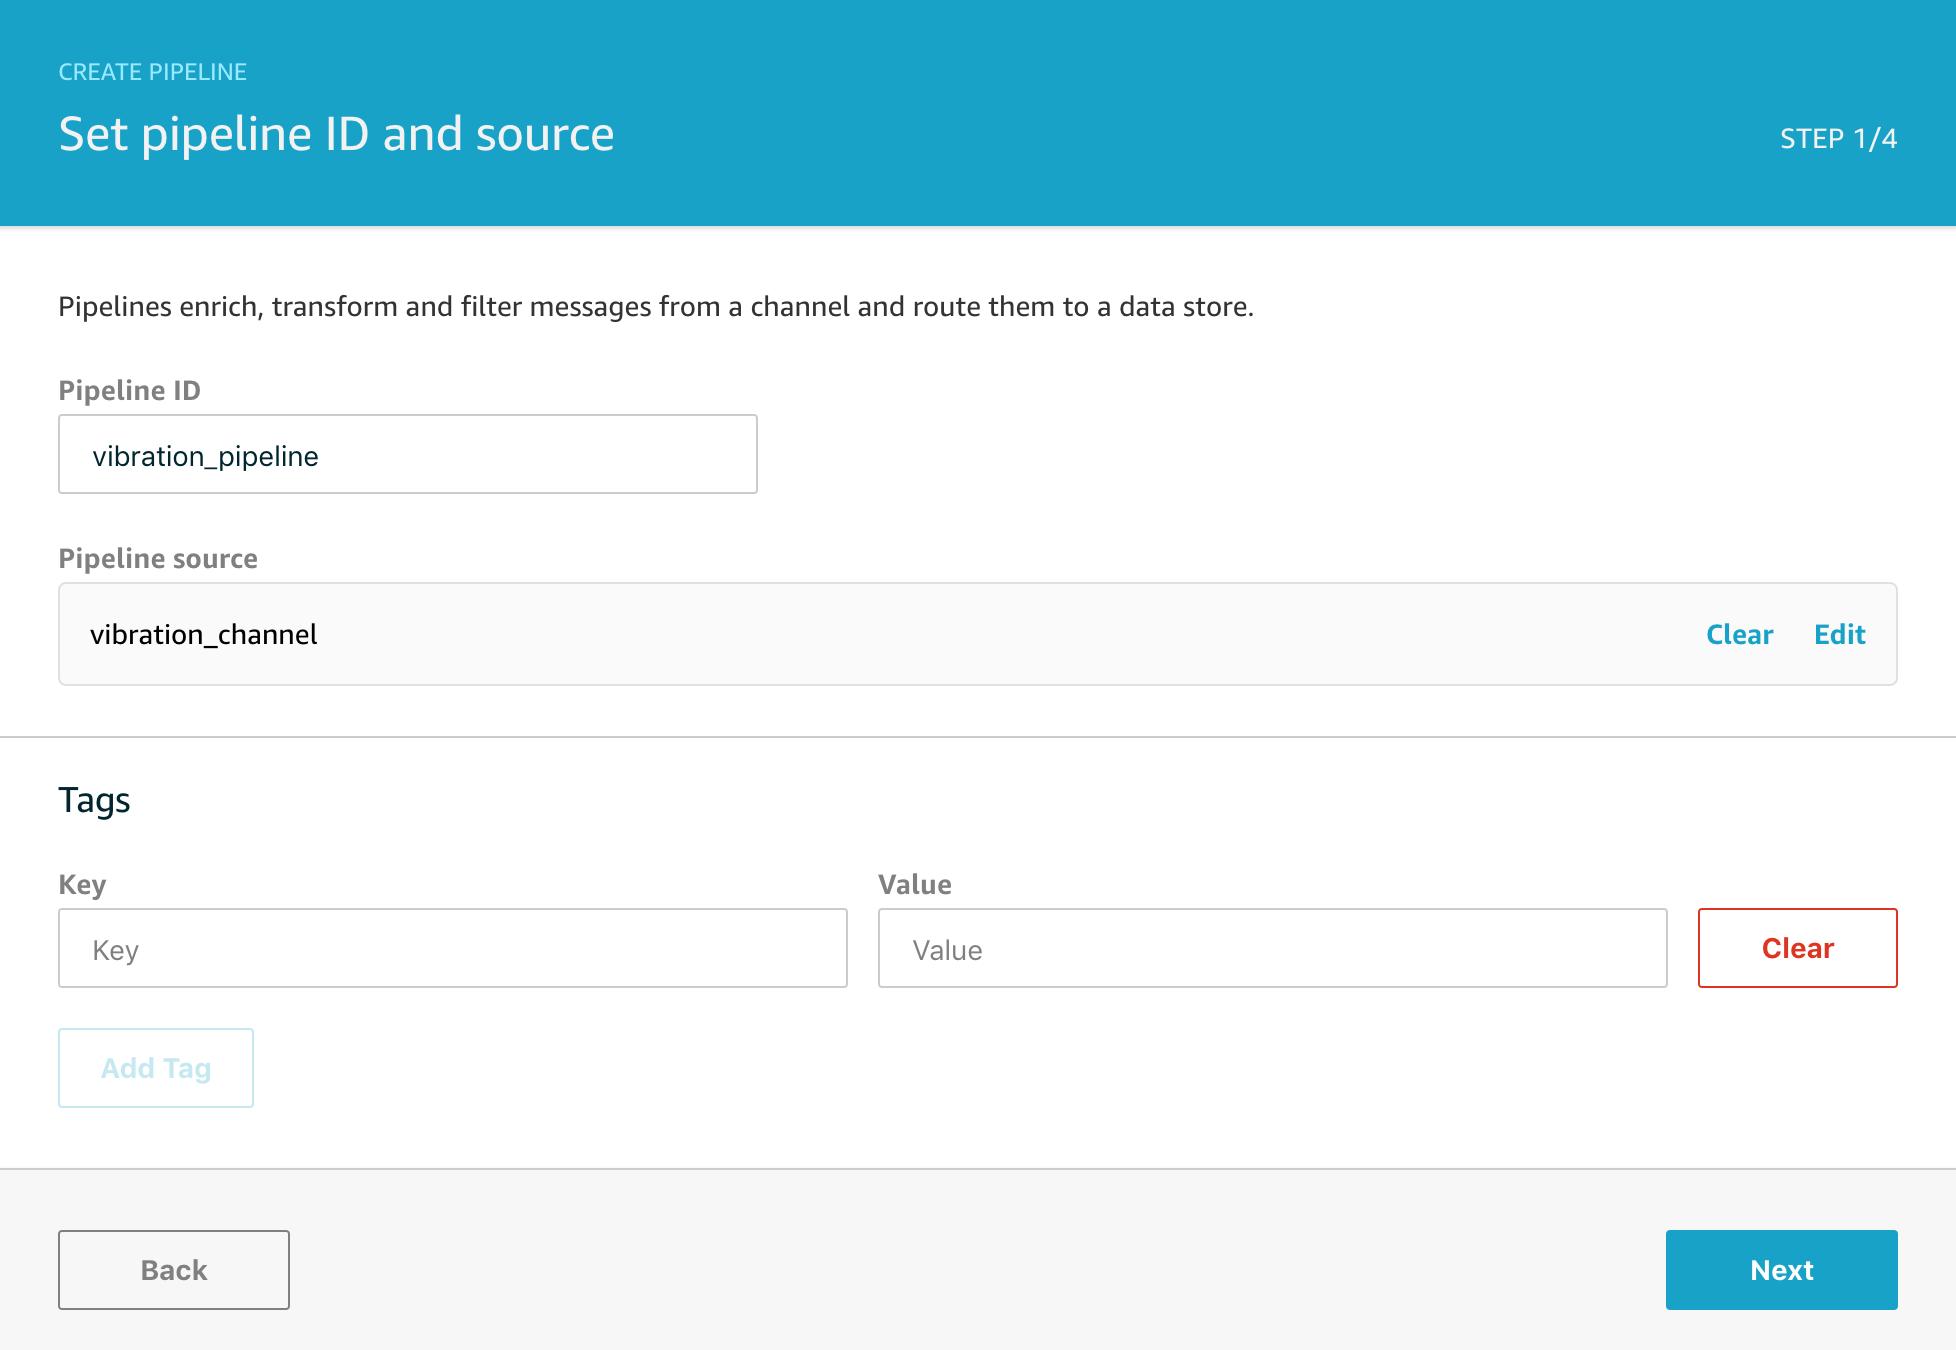
STEP ONE
We’ll start by naming the Pipeline and selecting the Channel we created time as the source. Every Pipeline needs to get its data from somewhere and so the first mandatory step is to connect the Pipeline to the message source.
Again, you can choose to optionally tag your resources, but for now we’ll just click through with Next.
STEP TWO
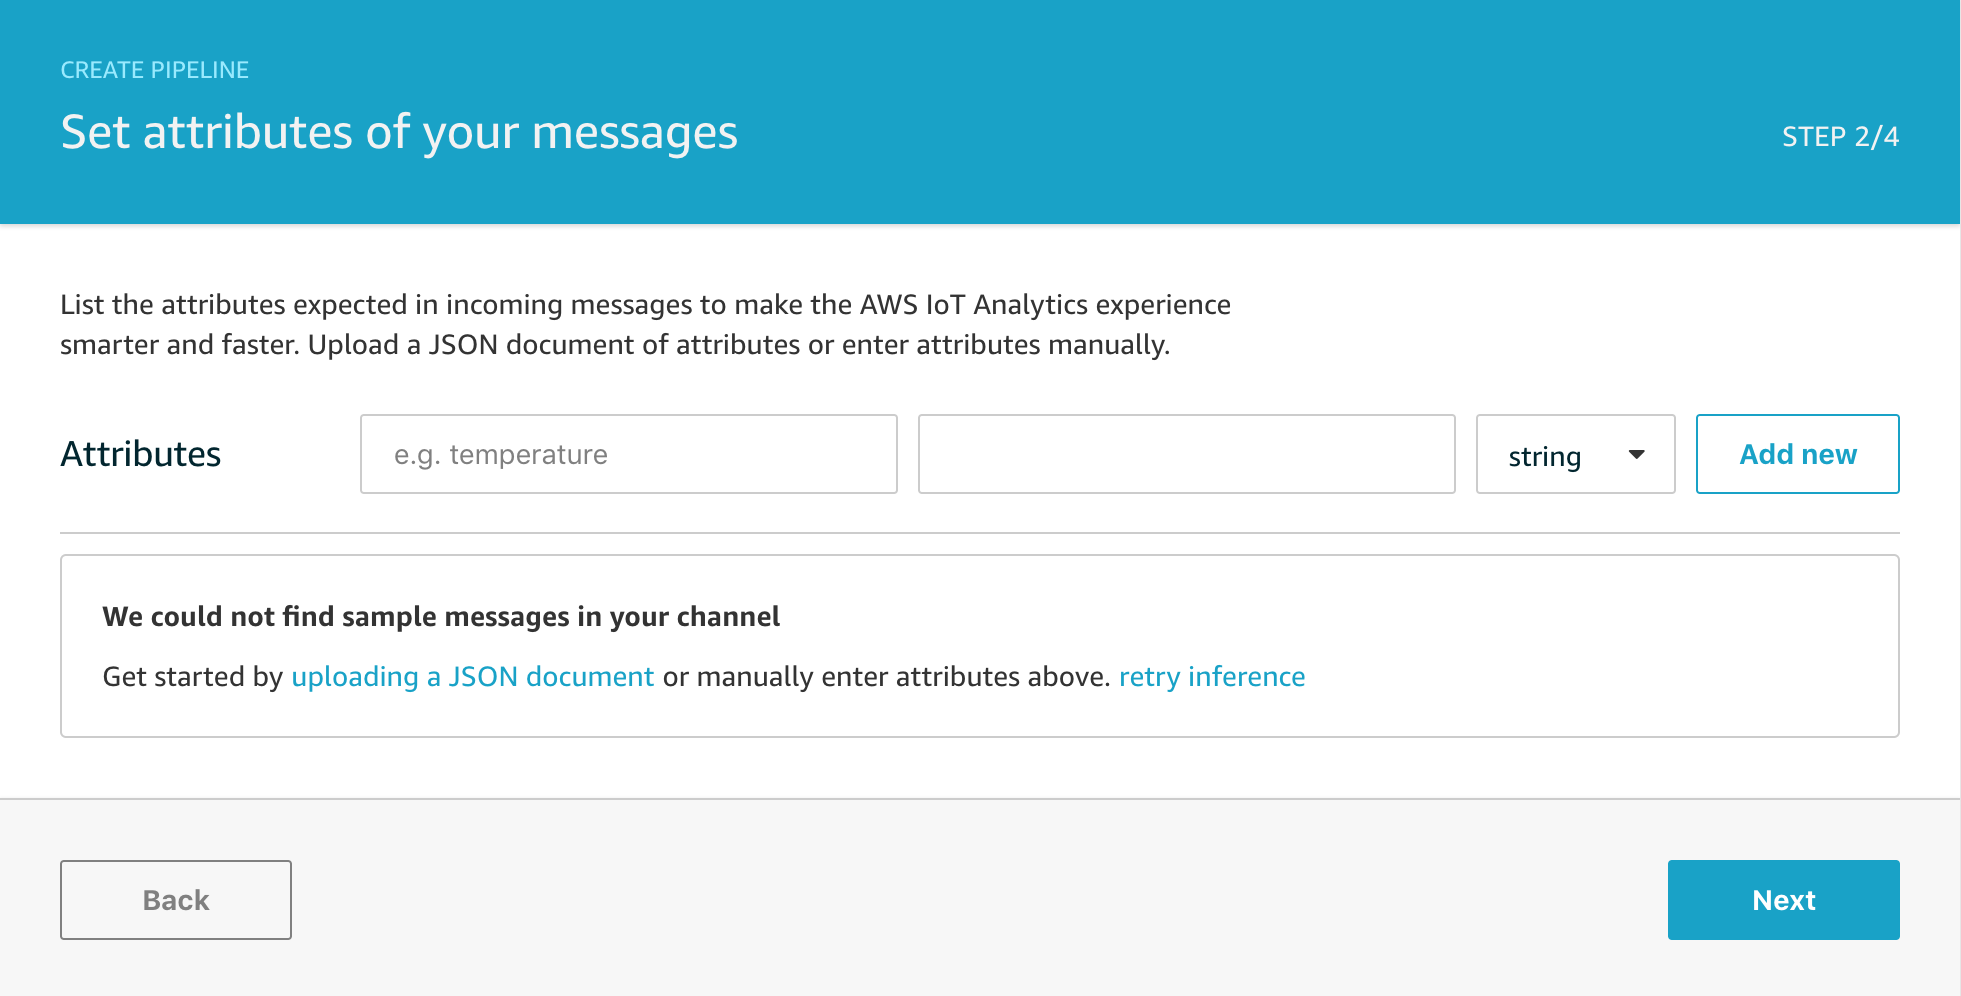
On this screen, the console will attempt to find any existing messages in the channel and show you a sample of attributes that have been found. This helper can be useful for some of the later activity steps, but it’s completely optional and I generally just click through with Next to get straight to the next step.
STEP THREE
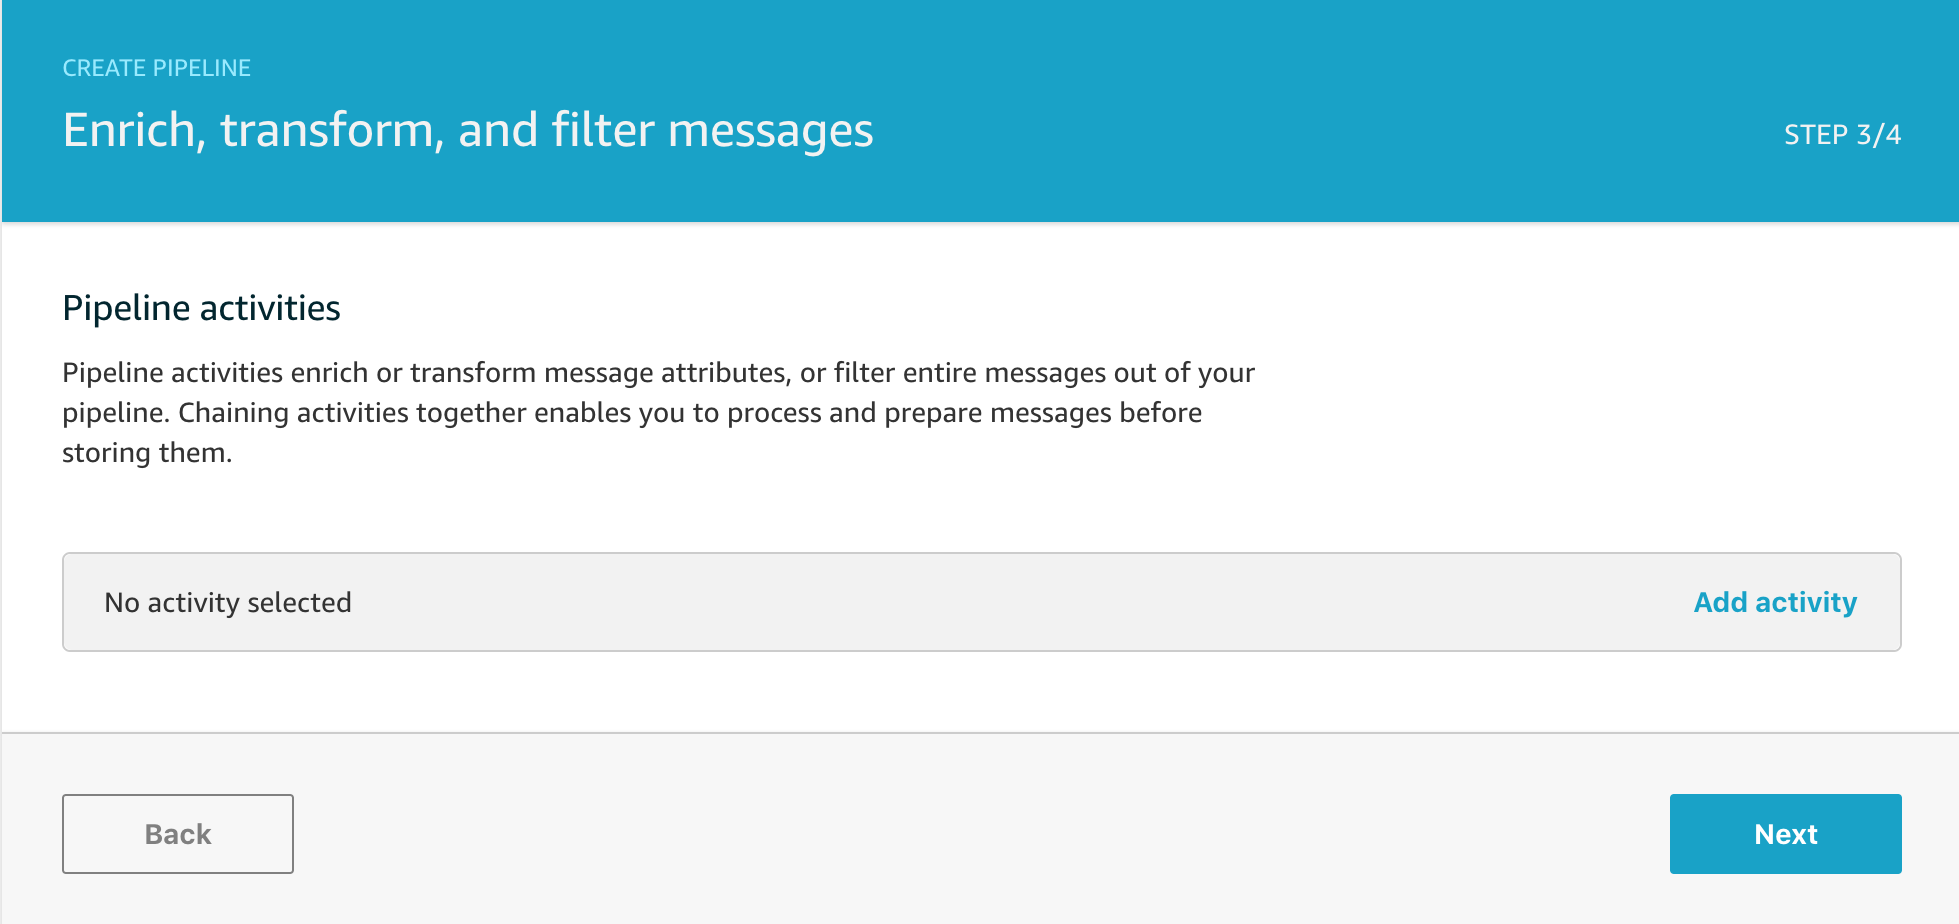
On this screen you can configure any pipeline activities to transform your messages. I typically go back and do that later if I need to and find it faster to just click on Next to get straight to the final stage. If you already know exactly what you want to do though, you can add various processing activities for your data preparation stage here and we’ll discuss the activities in more detail another time.
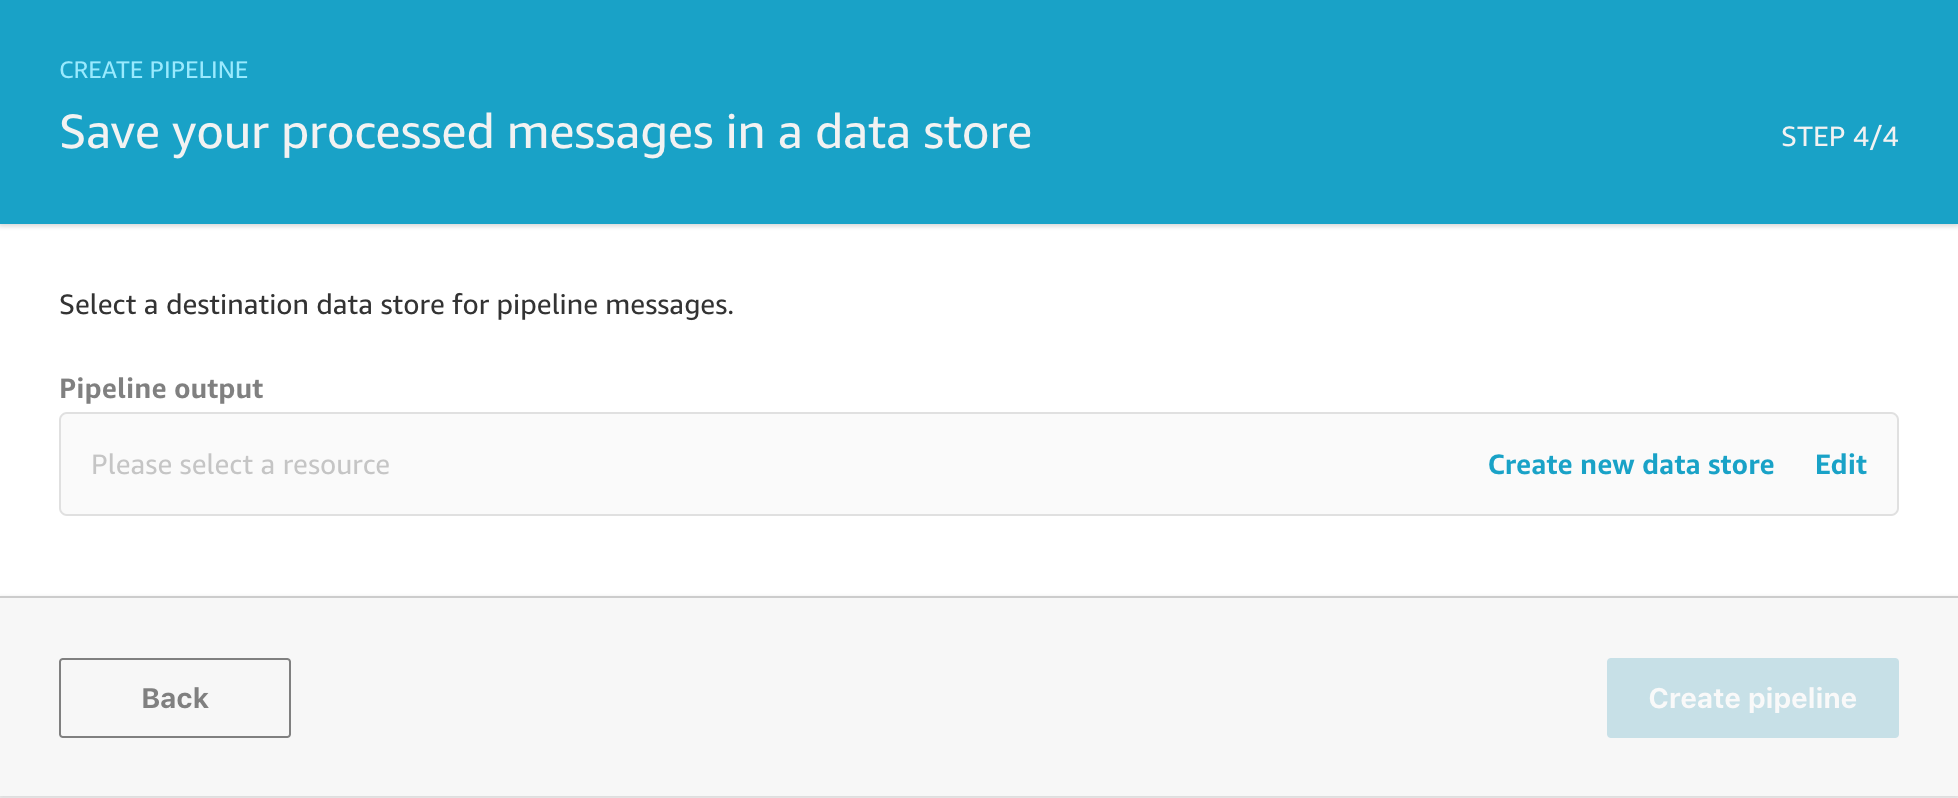
STEP FOUR
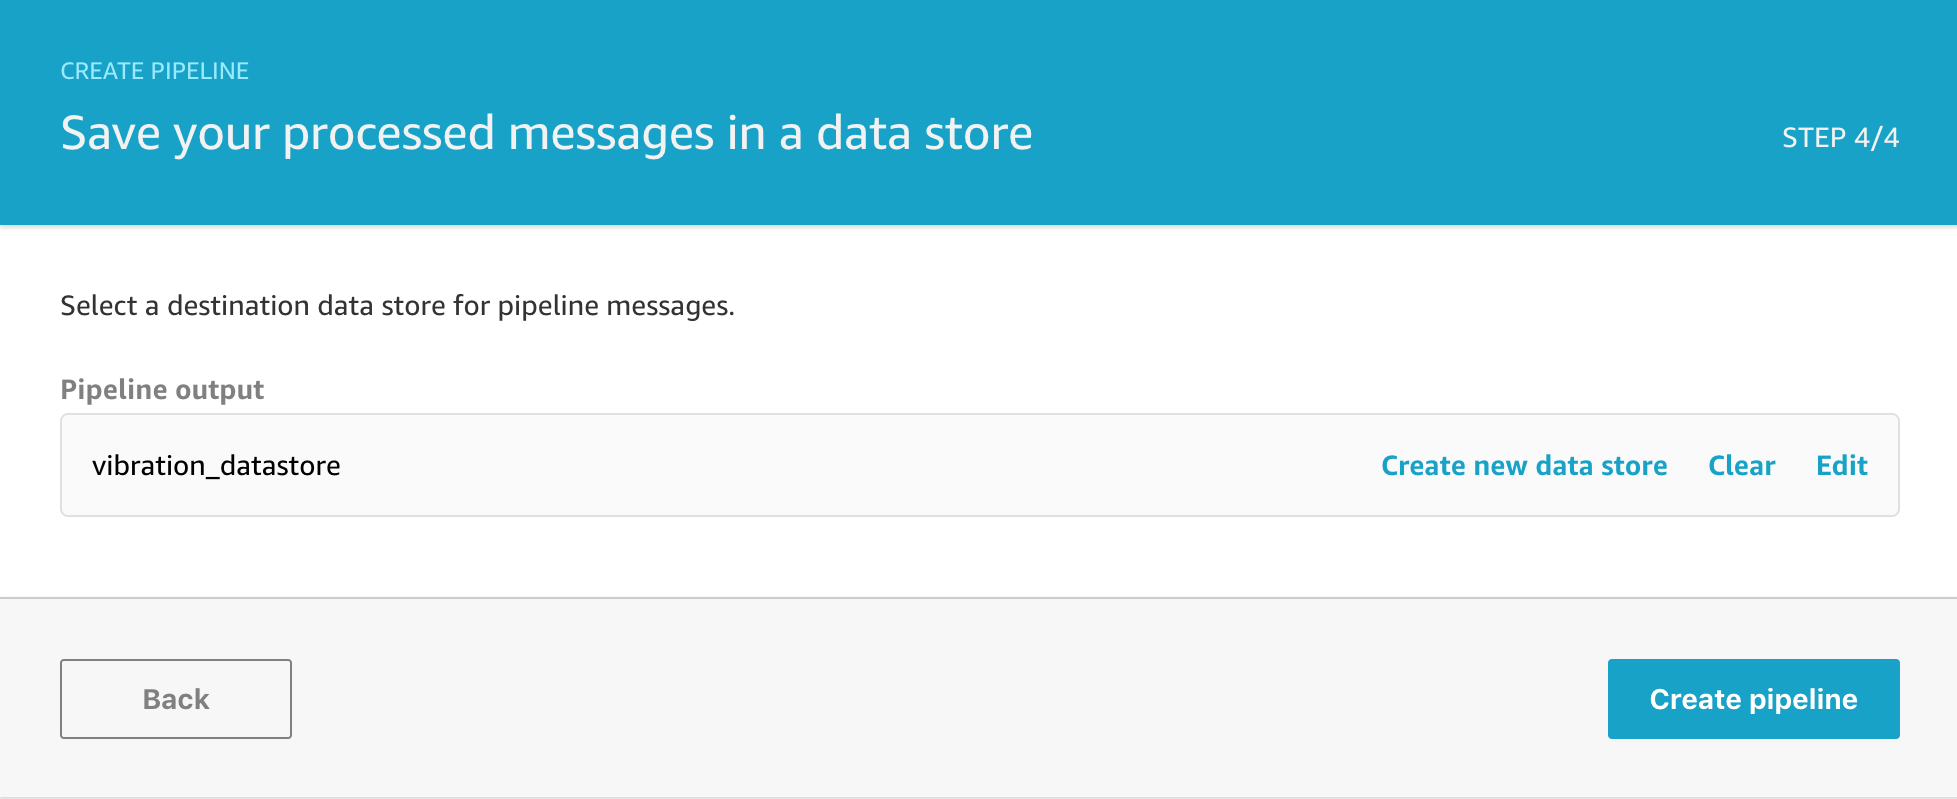
A Pipeline need to be connected to a Data store in order to process any messages and so this final step requires you to select an existing data store if you have one, or create a new data store if you need to. We don’t have any data stores yet so we will click on create a new data store to finish setting that up.
Give your data store a sensible name for this project as we’ll be needing to refer to it later on.
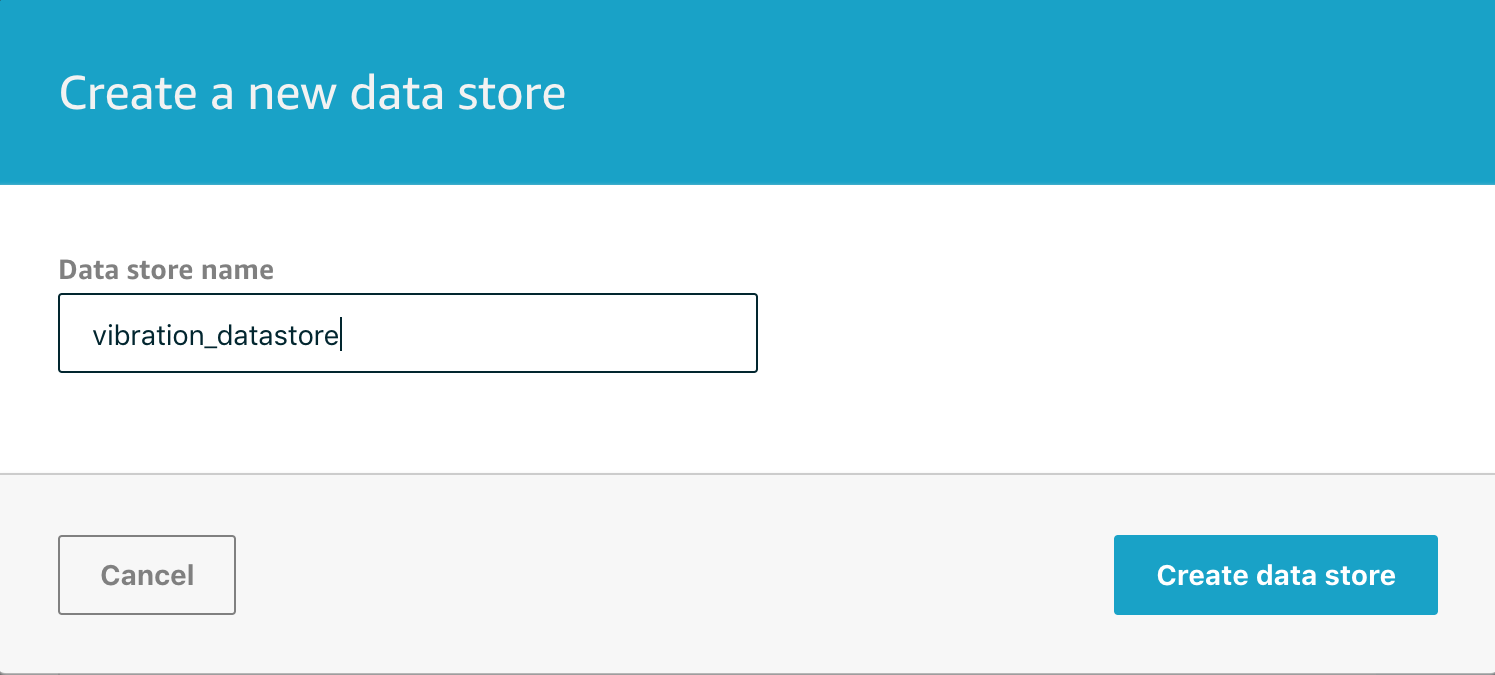
Clicking on Create data store will create the store for you and take you to the final screen in the Create Pipeline flow.
Finally, after clicking on Create pipeline, we’ll see that everything is setup and the pipeline is complete.

In conclusion, we’ve seen in part one and part two how to create a Channel to receive IoT messages from AWS IoT Core via Rules and how to create a processing Pipeline to connect the Channel to a Data store. Any messages we’re now sending on the MQTT topics we’re listening to will now be stored in the Data store where we can run analysis on them later – but that’s for a future topic.