
I have a new IoT project at home to figure out if I can do some frequency analysis on the vibrations coming from our furnace motor to identify possible future failure once I’ve replaced the belt between the motor and the blower fan. I’m going to send the data to IoT Analytics so let’s use this as an example of how to get started.
LAUNCH THE IOT ANALYTICS CONSOLE
Head over to the AWS Console and find IoT Analytics either by searching in the services list or scroll down and you’ll find a collection of IoT solutions grouped together on the right.

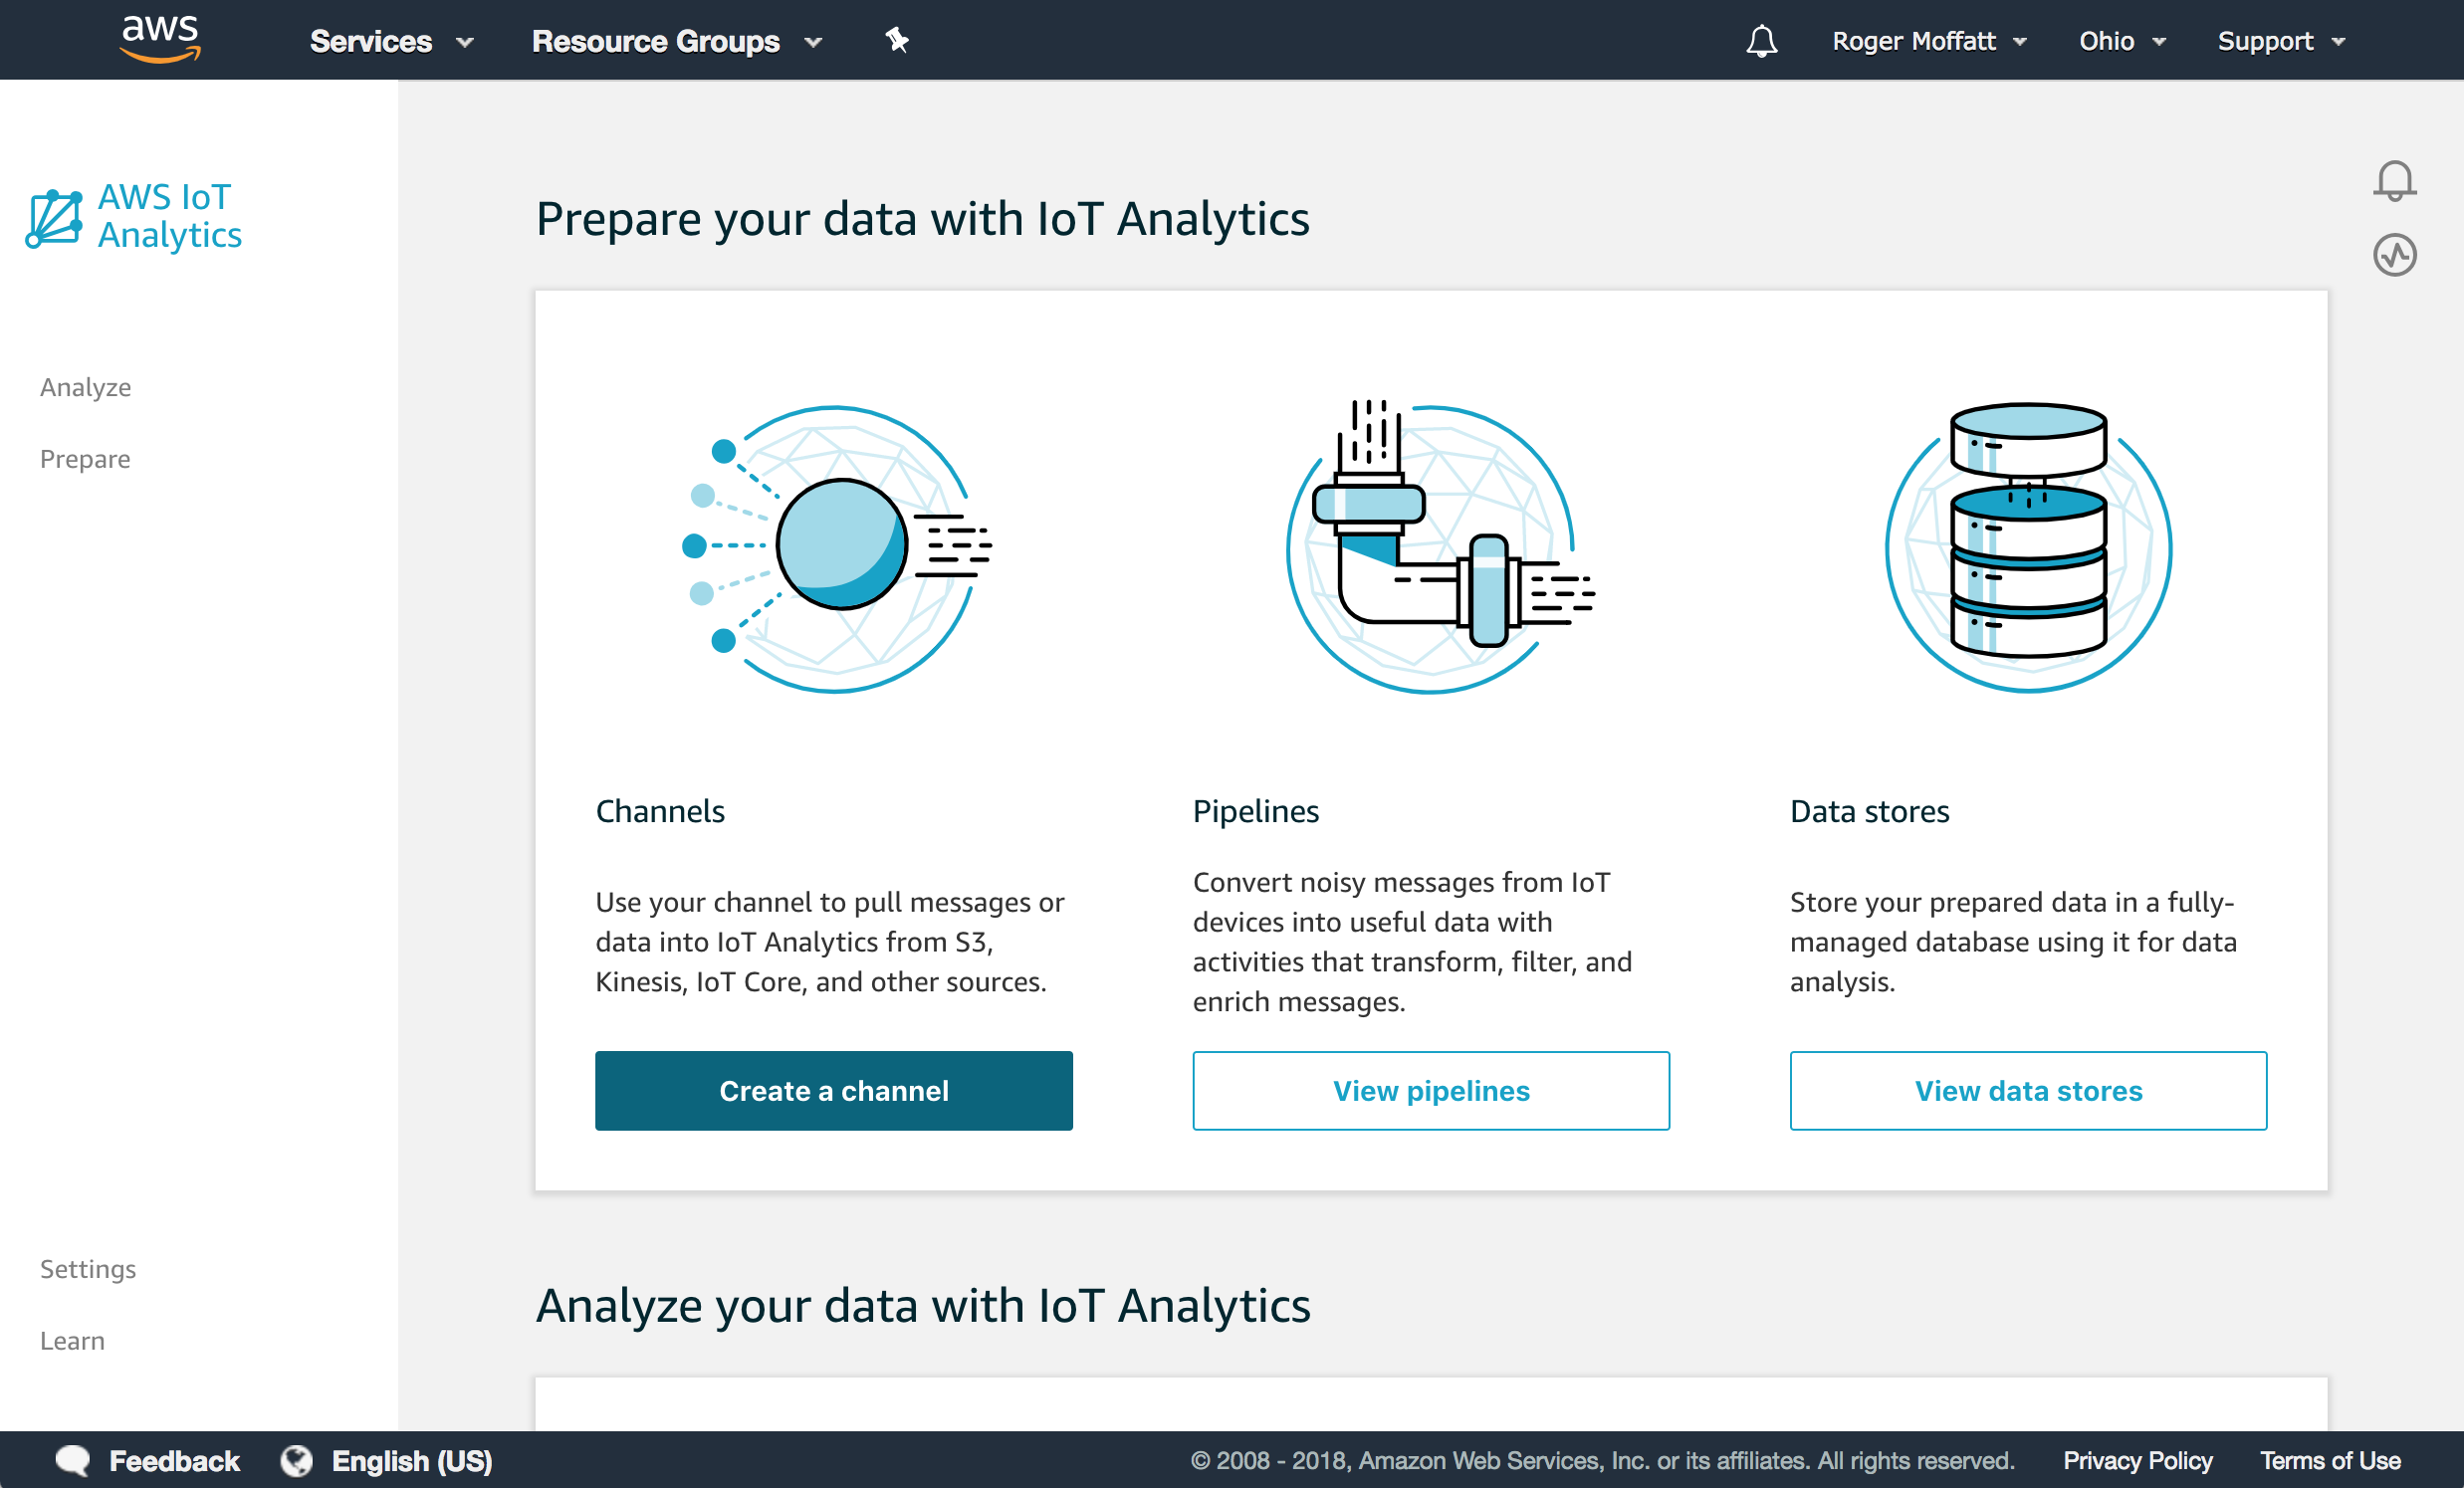
If you’re new to IoT Analytics, you’ll see a first time user experience screen that looks like this.
STEP ONE
Create a Channel to receive your messages. You can put messages into a Channel either by using an IoT Rule to send messages arriving to the AWS IoT gateway to an IoT Analytics Channel or you can send data directly using the batch-put-message API if your workflow supports that instead.
So let’s go ahead and click on Create a channel and give our channel an identifier we will use to refer to it later. As this project is all about vibration data, I’ll just call it vibration_channel. Note that you can’t change the identifier of a channel later on but you can tag the resource and use the tags to group and organise your channels and other resources once you start to have a lot of them.

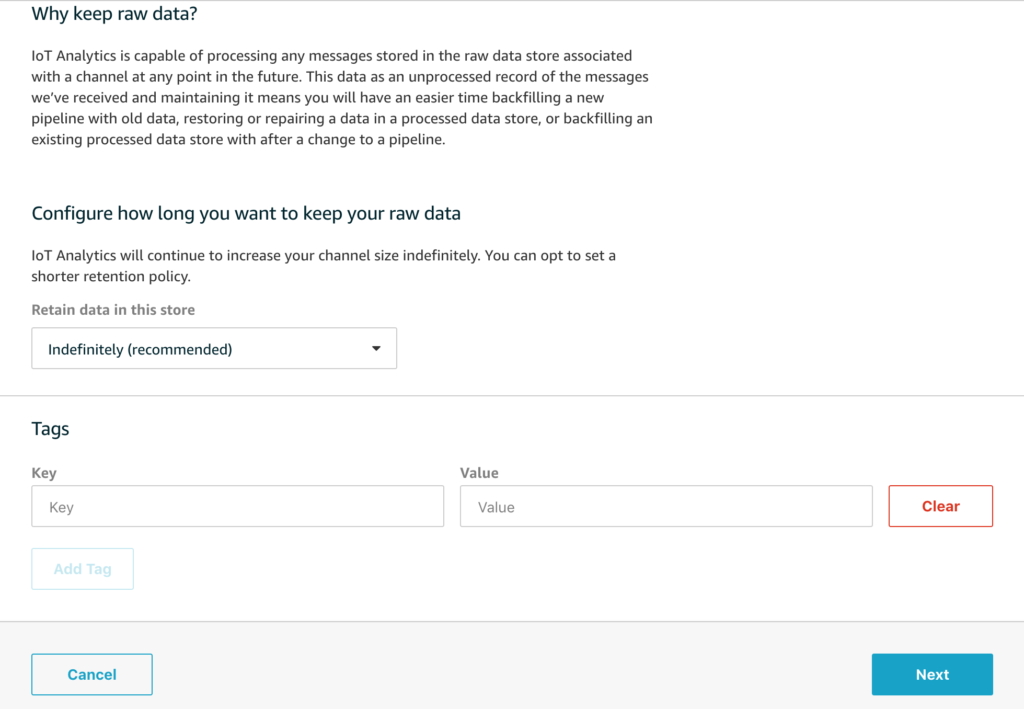
Now scroll down and click on NEXT. We will use the default data-retention period for our raw data which means that we will, in addition to the processed data that you can query, keep the original raw data in case we want to re-process it at a later date. This is one of the more advanced use cases for IoT Analytics and for now we will just proceed with the default settings.
STEP TWO
After clicking Next, we’ll be on the final screen in the Channel creation flow which looks like this.
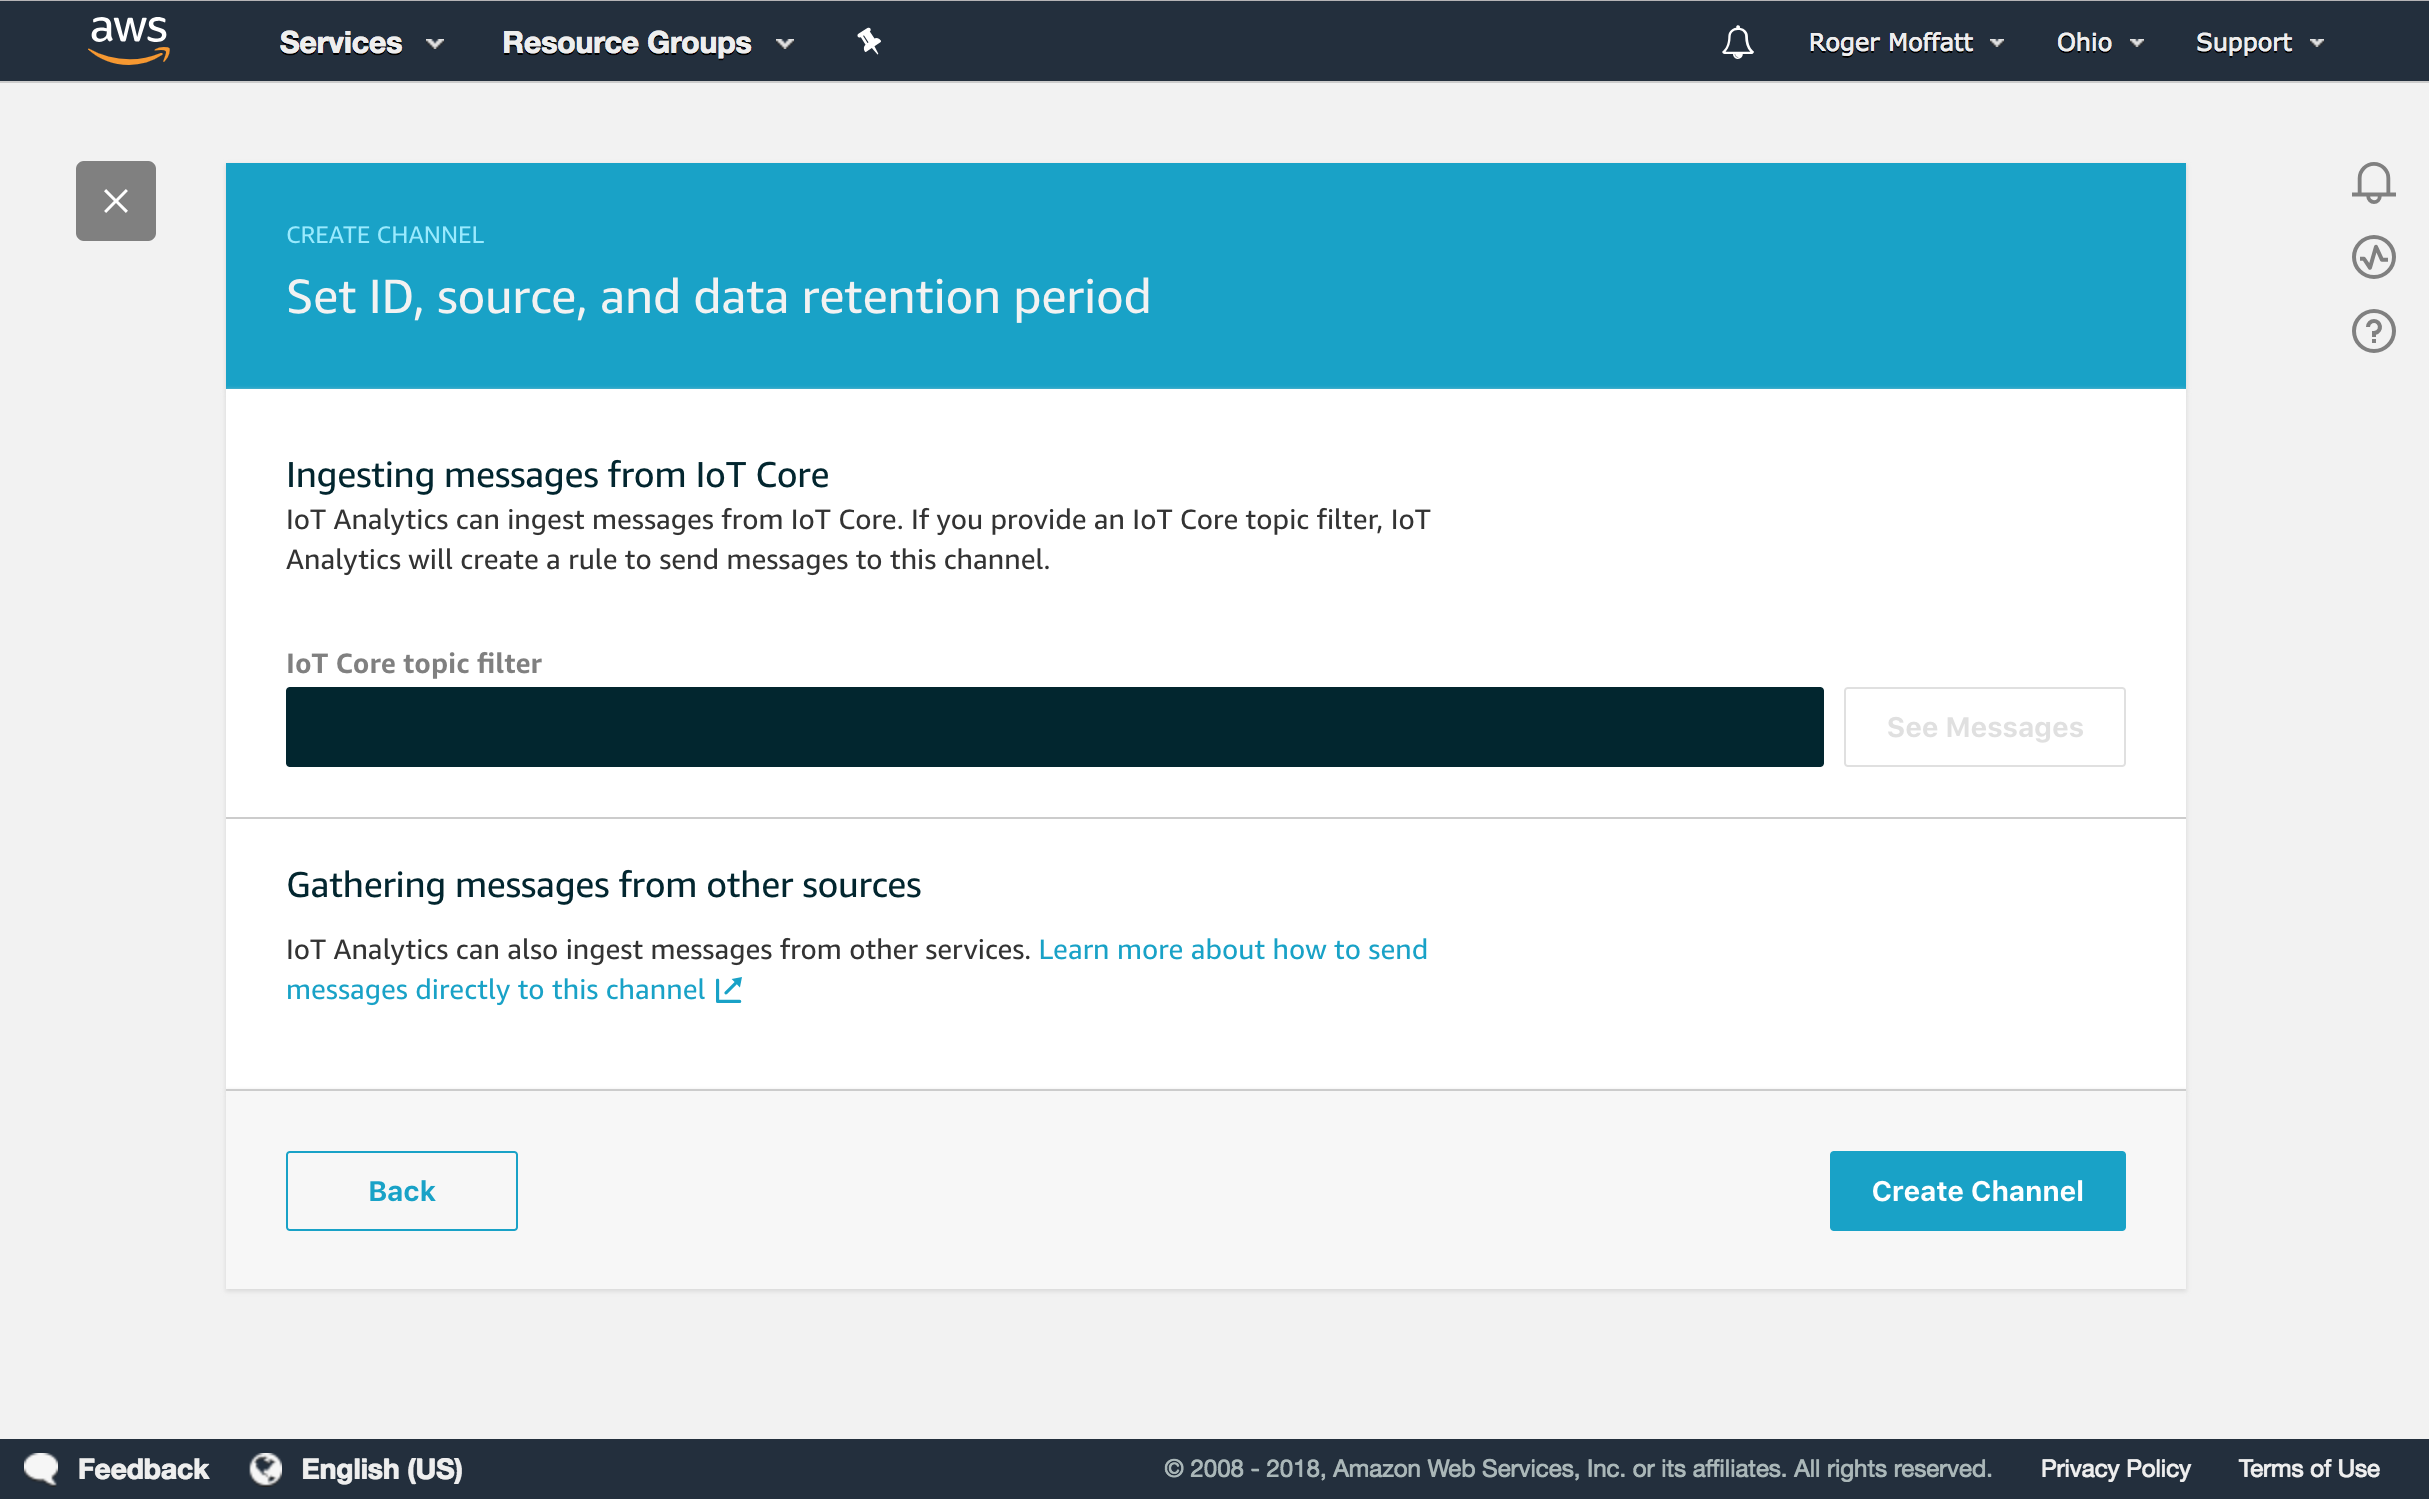
It’s important to say that you can simply go straight to clicking on Create Channel at this point, especially if you are using batch-put-message to send your data. As a convenience however, if you are sending messages to IoT Core, you can type a topic filter and IoT Analytics will create a Rule in IoT Core for you. You can even see the messages coming in live to that MQTT topic to check that you’re listening to the right topic or to have a look at the shape of the messages.
Let’s try that first and enter a topic and click on See Messages.
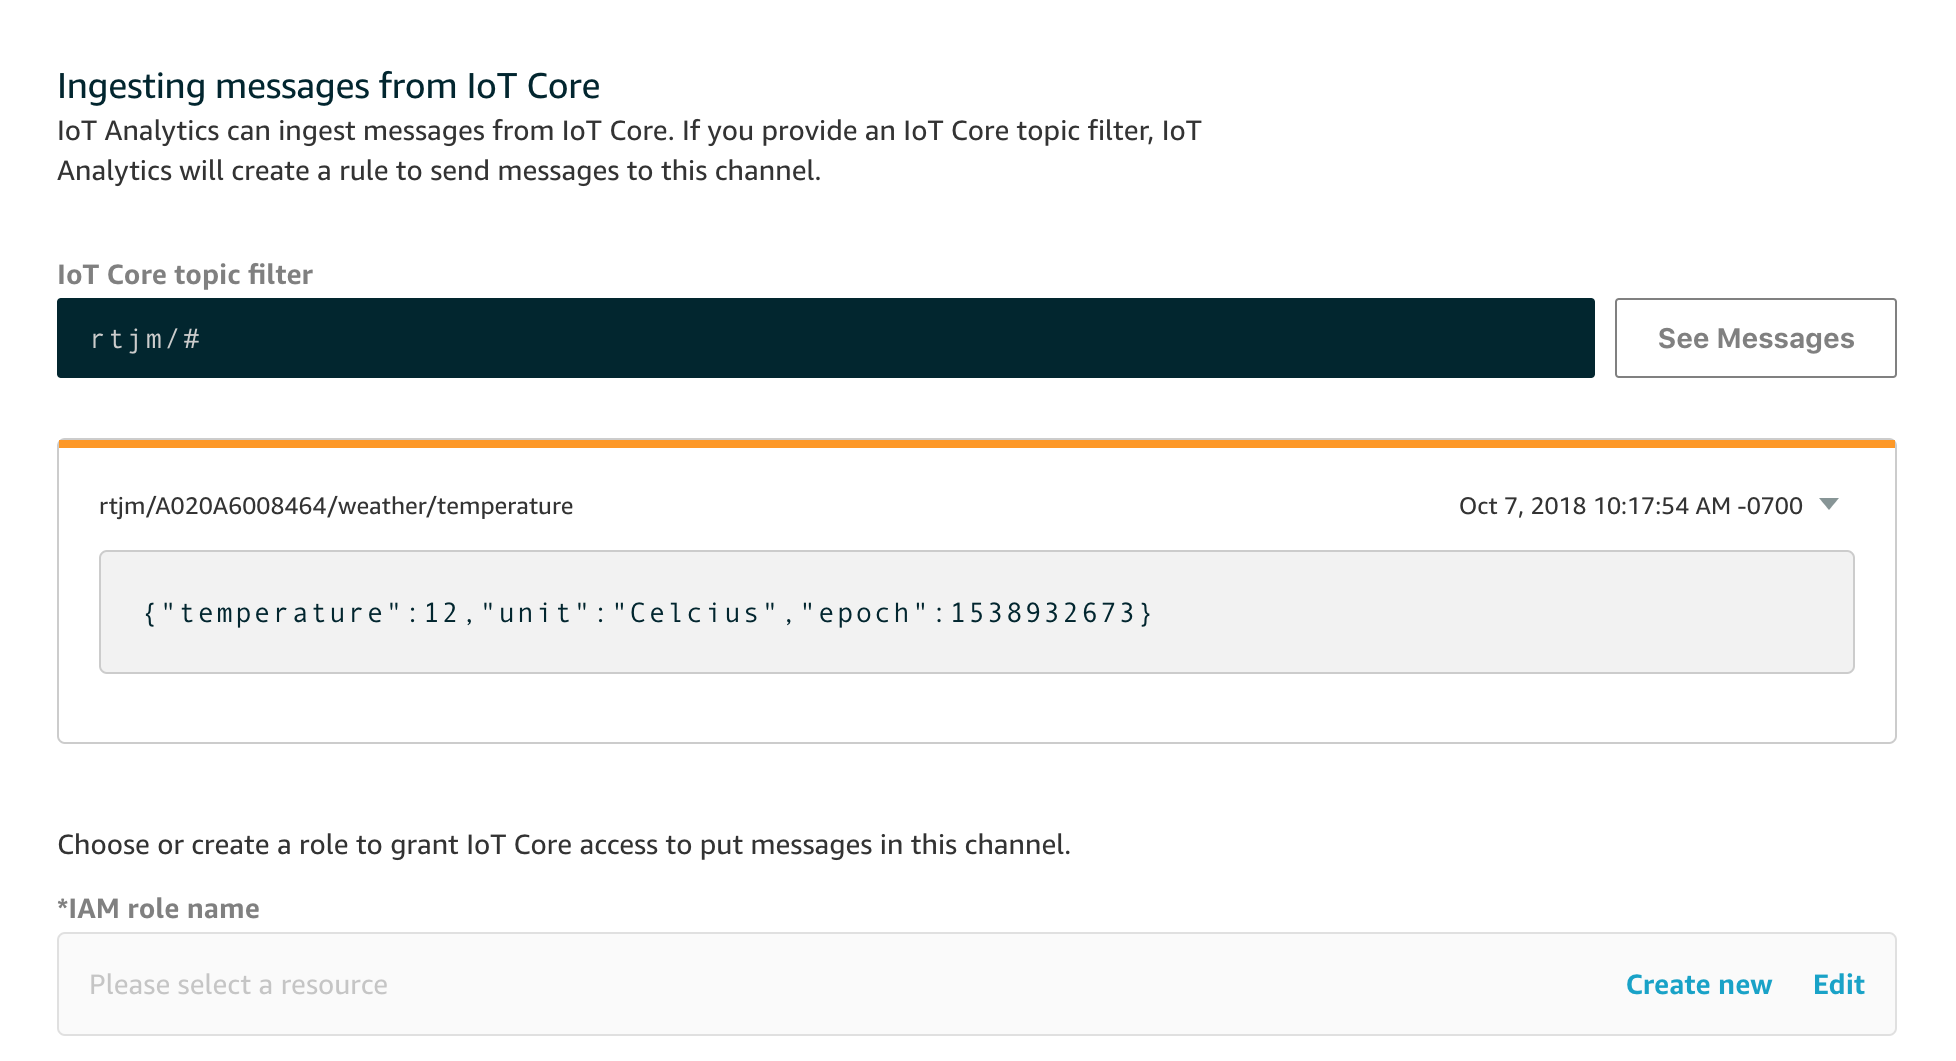
You’ll see I’ve used a wildcard topic filter in this case so the first message I’ve received is nothing to do with this particular project, but you get the idea.
STEP THREE
The next thing to point out is super important though. You’ll see that you need to choose or create a role to grant IoT Core the permissions needed to put messages into your channel. Typically I will use create new role here, but you need to be aware that the role that is created is scoped down to just this individual channel. This is important because you might be tempted to re-use this role for future channels – but this will not work as the channels are different. Of course one way around this is to use the IAM console to create a role scoped to any of your channels for example, but that’s for another day.
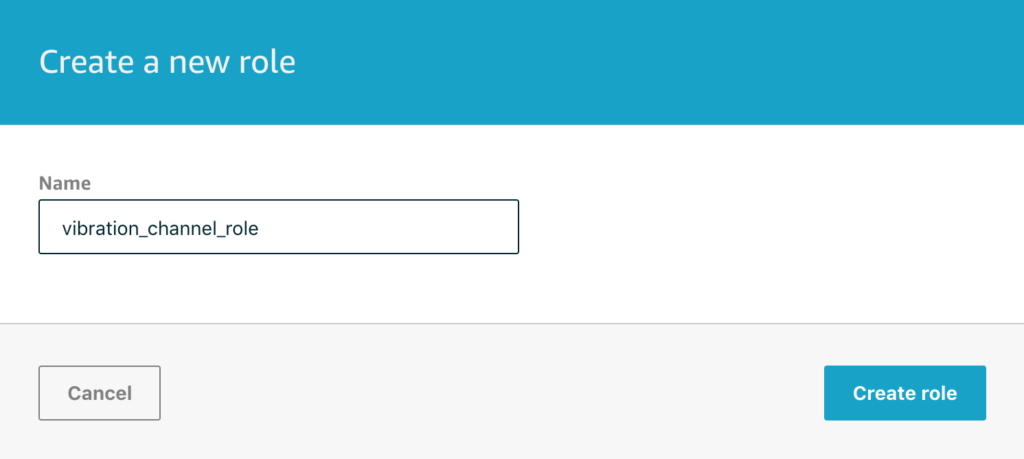
For this example, I’ll create a new role and then click on Create Channel to complete the process. This will take us back to the Channels page which lists all the Channels we have so far.
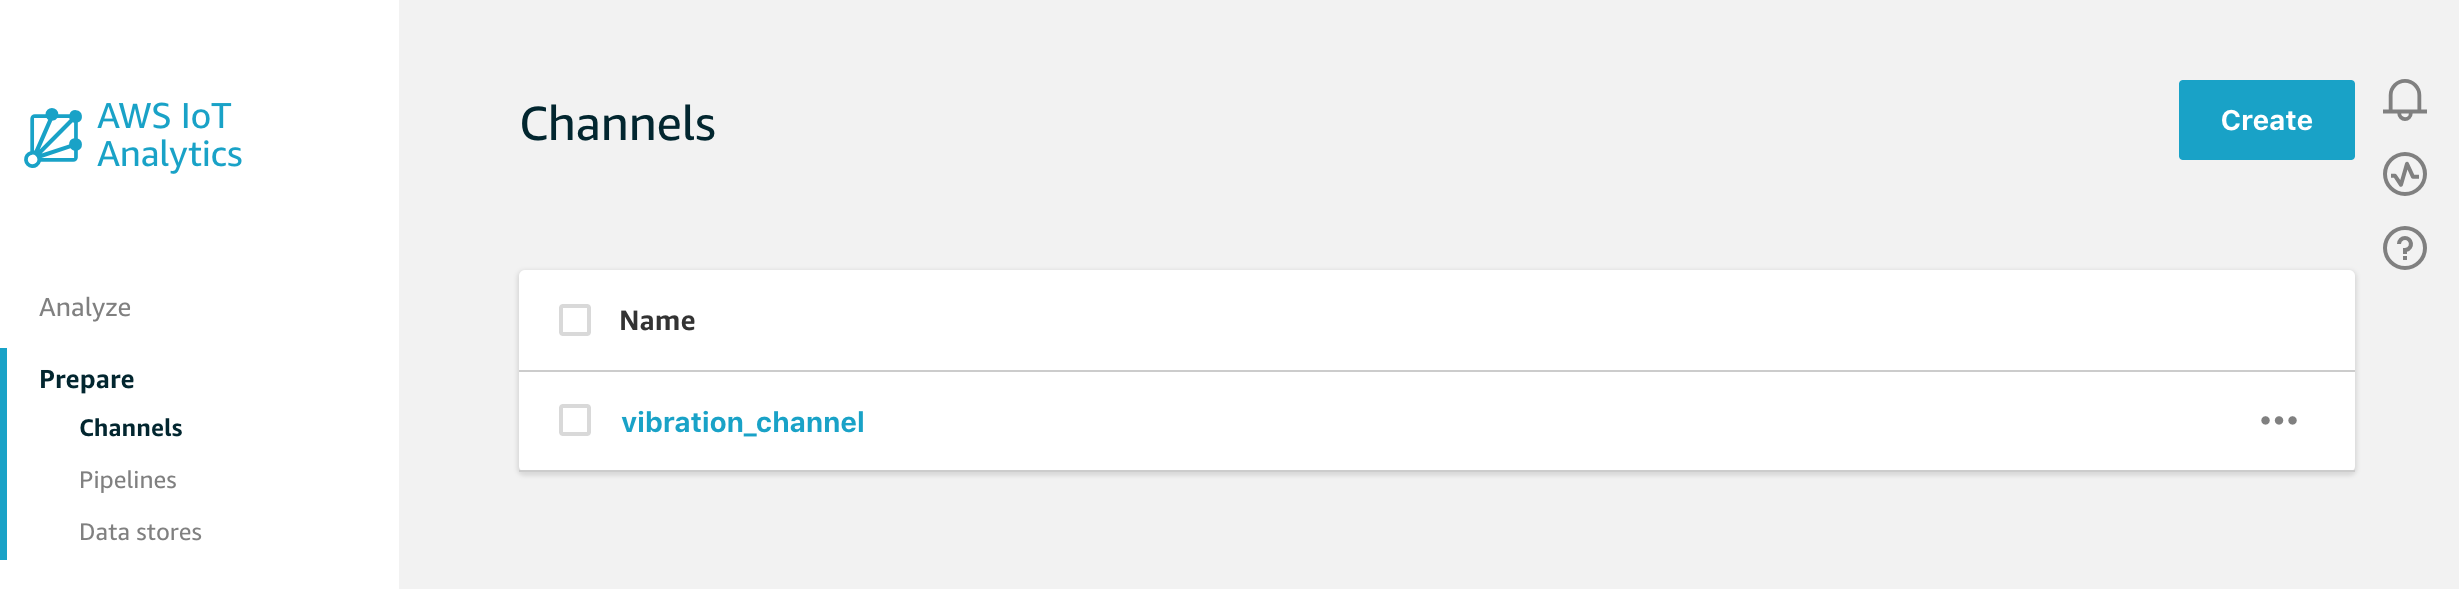
Let’s recap what we’ve done so far
- We’ve created a channel called vibration_channel to collect our data.
- We’ve created a new IAM role to grant IoT Core permissions to send data to the channel.
- By creating a topic filter, we’ve automatically created a Rule in IoT Core which will route messages matching the filter to our newly created Channel.
Note that if you were using the AWS CLI or SDK to create the channel, the Rule is not created for you – this is assistance that is only provided by the console (but of course it’s easy to setup the Rule with the CLI or SDK as well).
We’re now ready to send data, but we’ll pick that up in part two.